Visual Studio Code
3 minute read
Set-up Remote Development:
After installing Visual Studio Code the first step is to install the Remote Development extension:
Remote Development, allows you to use a remote machine as full-feautured development environment.
Inside the primary side bar per default on the left side of your main menu, press
Extensions(Crtl+Shift+X).
-
Inside the EXTENSIONS tab use the search
Extensions in Marketplaceto find the following extension:Remote Development.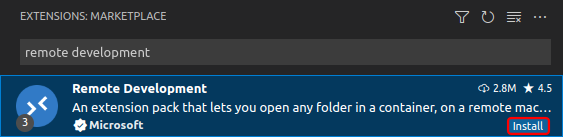
-
Press
install, to install theRemote Developmentto your local machine.
Your local machine extensions are now installed!
-
With
Remote Development installed, inside theprimary side baran itemREMOTE EXPLORERis added, press to open. -
Inside the
REMOTE EXPLORERselectSSH TARGETSpressAdd New.
- Enter SSH Connection Command:
ssh admin@192.168.2.100, pressEnterto confirm.
- Select SSH configuration file to update:
/home/username/.ssh/config(To update your config locally, use/etc/ssh/ssh_configto update remote.).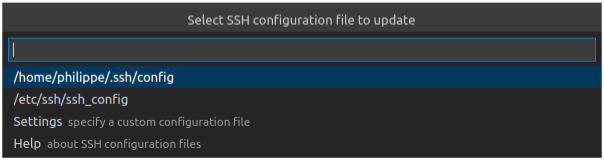
Right clickon192.168.2.100, pressConnect to Host in Current Window.
- Enter password for $admin@192.168.2.100:
vectioneer, pressenter.
- In the bottom bar in green you see
SSH:192.168.2.100, this means that the connection is established:
- The
EXPLORER Windowis now opend: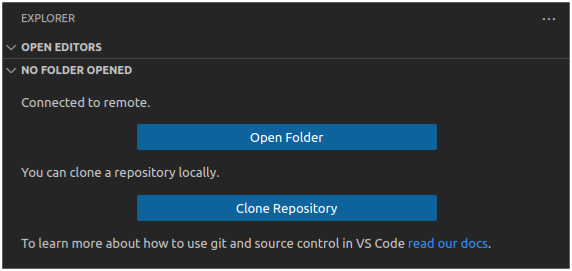
- With the
remote device connectedyou can install theC/C++andMotorcortex Templateextensions to your remote controller: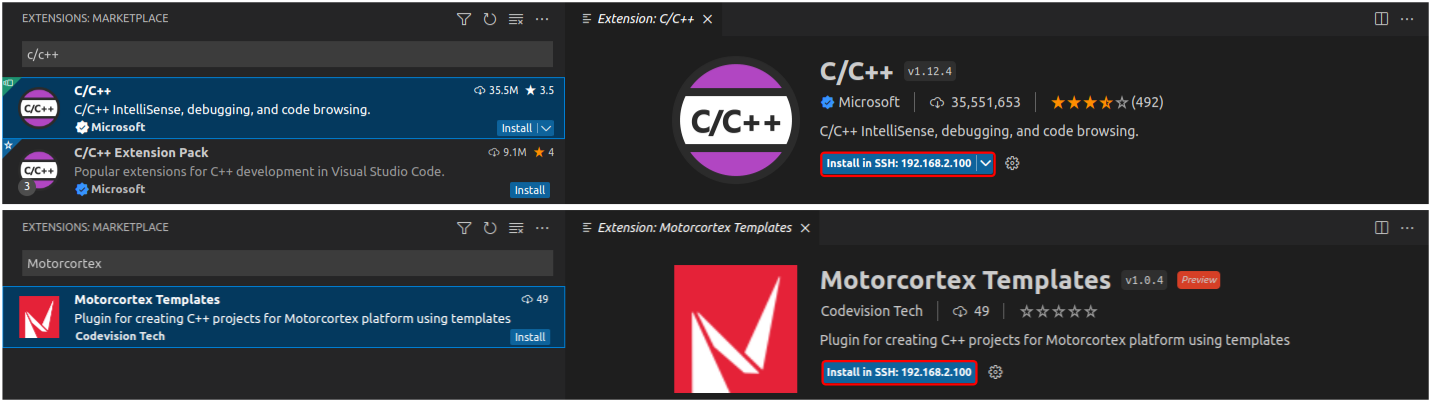
- Press:
install in SSH:192.168.2.100.
Your controller has all extensions installed and is connected with Visual Studio Code!
Create and build a Motorcortex Project:
- Inside
EXPLORERunderNO FOLDER OPENEDconnect to remote, pressOPEN FOLDER, selecthome/admin/pressOK.
- This opens in
EXPLORORWindow ->ADMIN[SSH:192.168.2.100].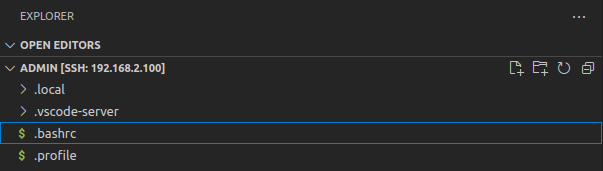
-
Inside ADMIN[SSH:192.168.2.100], Press
New Folder...to create a new folder, Enter name:Test. -
Use keyboard shortcut
ctrl+shift+p, search for:File: Open Folder..., enter:/home/admin/Test-> pressOK.
- Enter password for $admin@192.168.2.100:
vectioneer, pressenter.
- Inside this folder create a new Motorcortex Project, use keyboard shortcut
ctrl+shift+p, search forMotorcortex Create Project.
- Name your Motorcortex project, for exampje:
Test.
- Now your project is visual in the
EXPLORERit should look like this: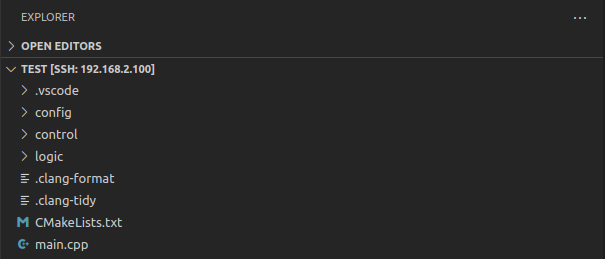
- This project inside
TEST[SSH:192.168.2.100], usesCMaketo build, for this you have to assign the following kit:
- Use keyboard shortcut
ctrl+shift+p, search forCMake: Select a Kit. - Select a Kit for Test:
GCC 9.3.0 x86_64-mcx-linux.
- In the bottom bar in blue
GCC 9.3.0 x86_64-mcx-linux, this will show you which kit is active:
- Now you can try to build your program on the controller, go to
top menu bar-> pressRun-> pressRun Without Debugging.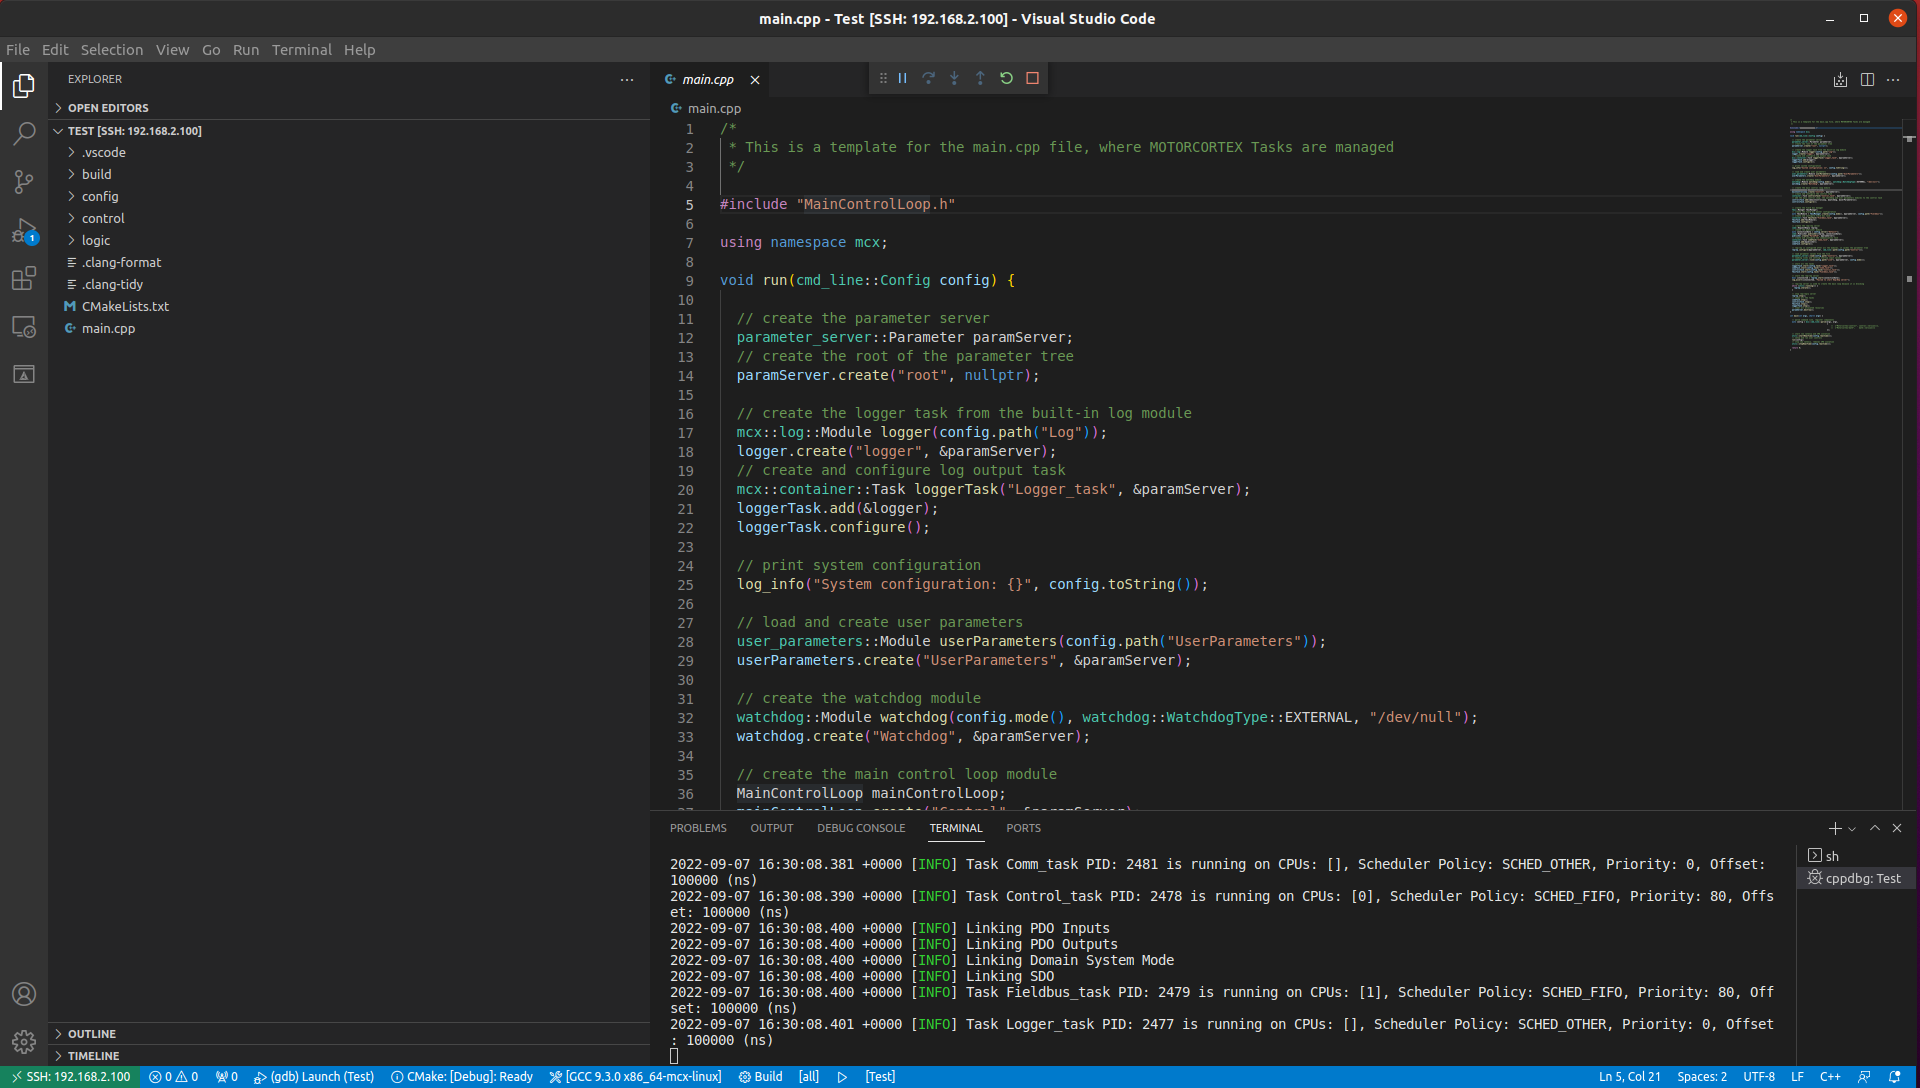
Your Motorcortex program is now running on you controller!
Add Motorcortex Module to Motorcortex Project:
- Inside your Motorcortex Project, use keyboard shortcut
ctrl+shift+p, search forMotorcortex Create Module.
- Fill in the name of your file, example
test:
- Fill in the name of your class, example
testClass:
- You have created your Motorcortex Module:
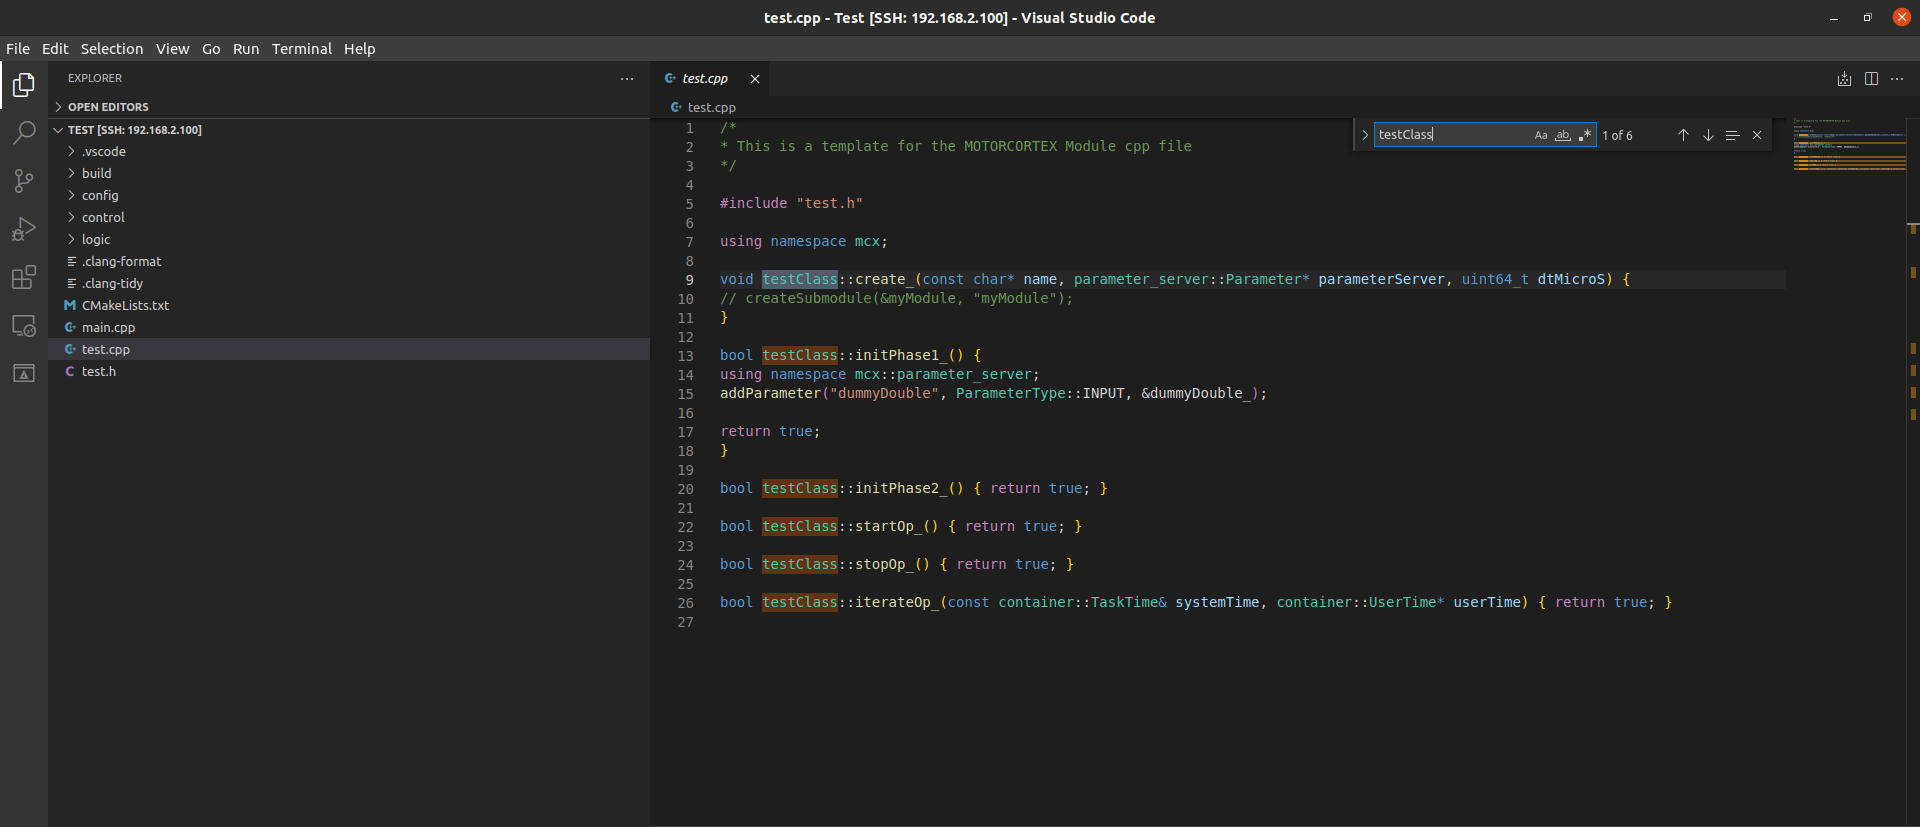
Your Motorcortex Module is now added to your Motorcortex Project!