Configure EtherCAT
3 minute read
After successfully Deploying a application it is time to configure your EtherCAT devices. In this section we will use a example to show how to configure your EtherCAT with the Motorcortex ECAT Tool. For this example we have made use of a Beckhoff EP2316-0003 IO module. With your EtherCAT device connected it is time to configure your EtherCAT device(s) using the Motorcortex ECAT tool.
Warning
Your Motorcortex Controller can connect to any EtherCAT device(s). Take care to make proper use of the supplier instructions when connecting new EtherCAT device’s.
Prerequisites
- Laptop
- Motorcortex.io account
- Motorcortex Controller with running application connected to laptop
- EtherCAT IO Device


Connect Motorcortex-Ecat tool
In the Motorcortex ECAT tool you can create a master.xml file for your io configuration. This file is needed for Motorcortex to communicate with the EtherCAT devices in the EtherCAT bus.
-
Login to your motorcortex.io account. If you don’t have a account yet make sure to to register for an account.

-
Under
toolspress theEcatbutton. This will open the Motorcortex ECAT tool in a new browser tab.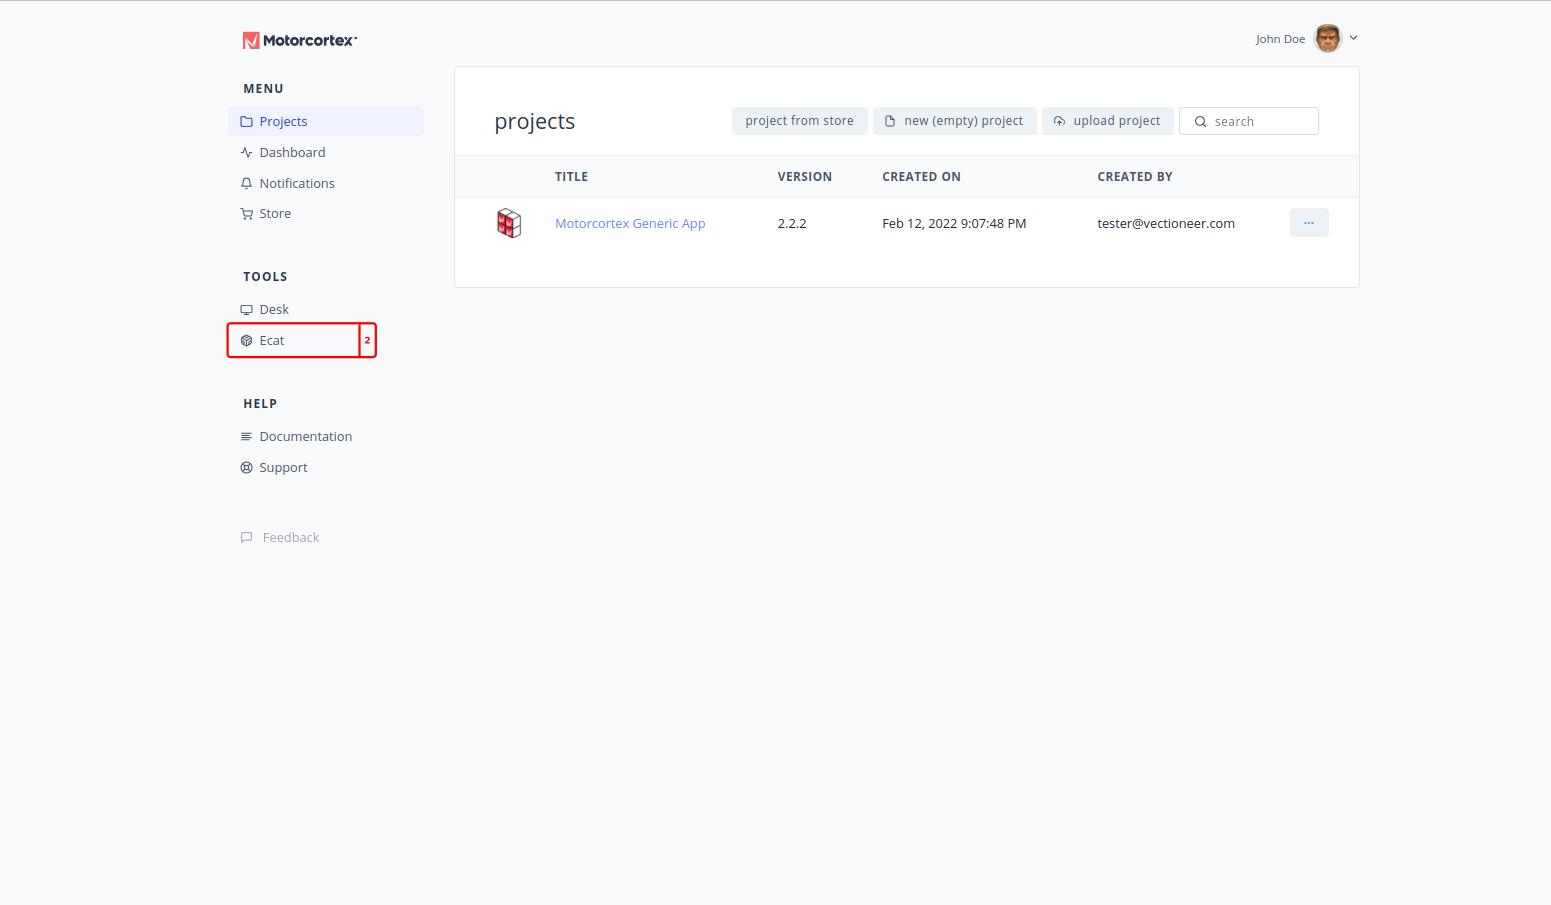
-
Connect to your controller via main menu on the top left and choose
Connection.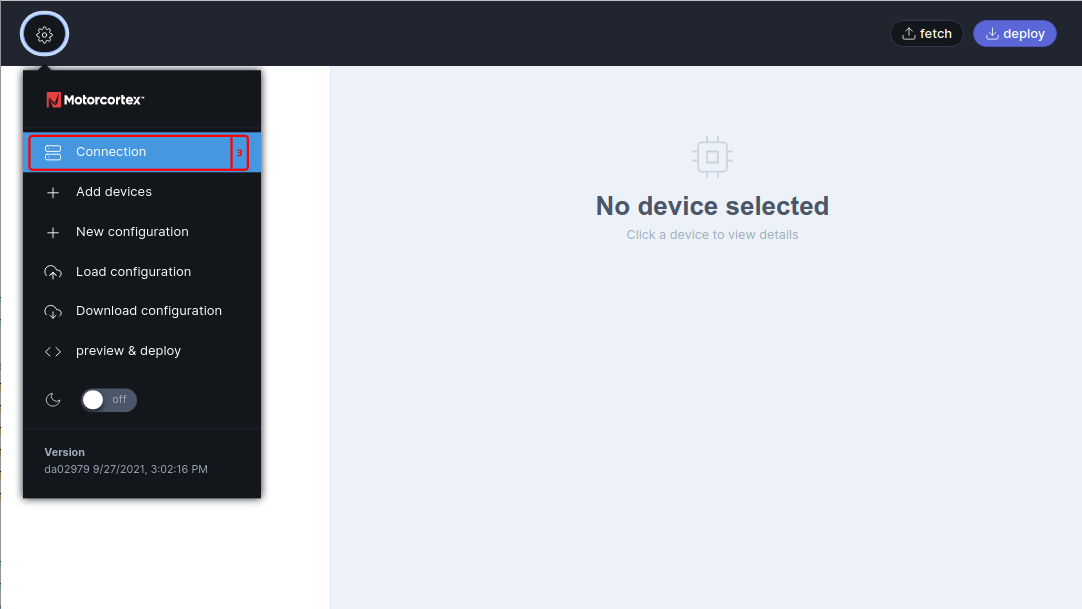
-
fill in the connection parameters per default you only have to fill in the IP address
192.168.2.100in case of the controller having a custom configuration you have to fill in the non-standard ports or/and user authentication.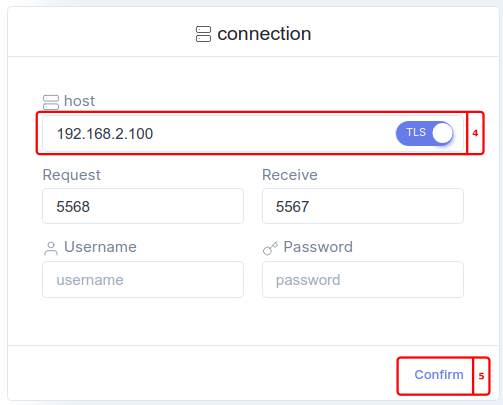
-
press
confirmto connect to your controller.
Ethercat configuration
A standard application has a pre configured EtherCAT bus.
-
Press
fetchto fetch the currentmaster.xmlEtherCAT configuration file on the Controller.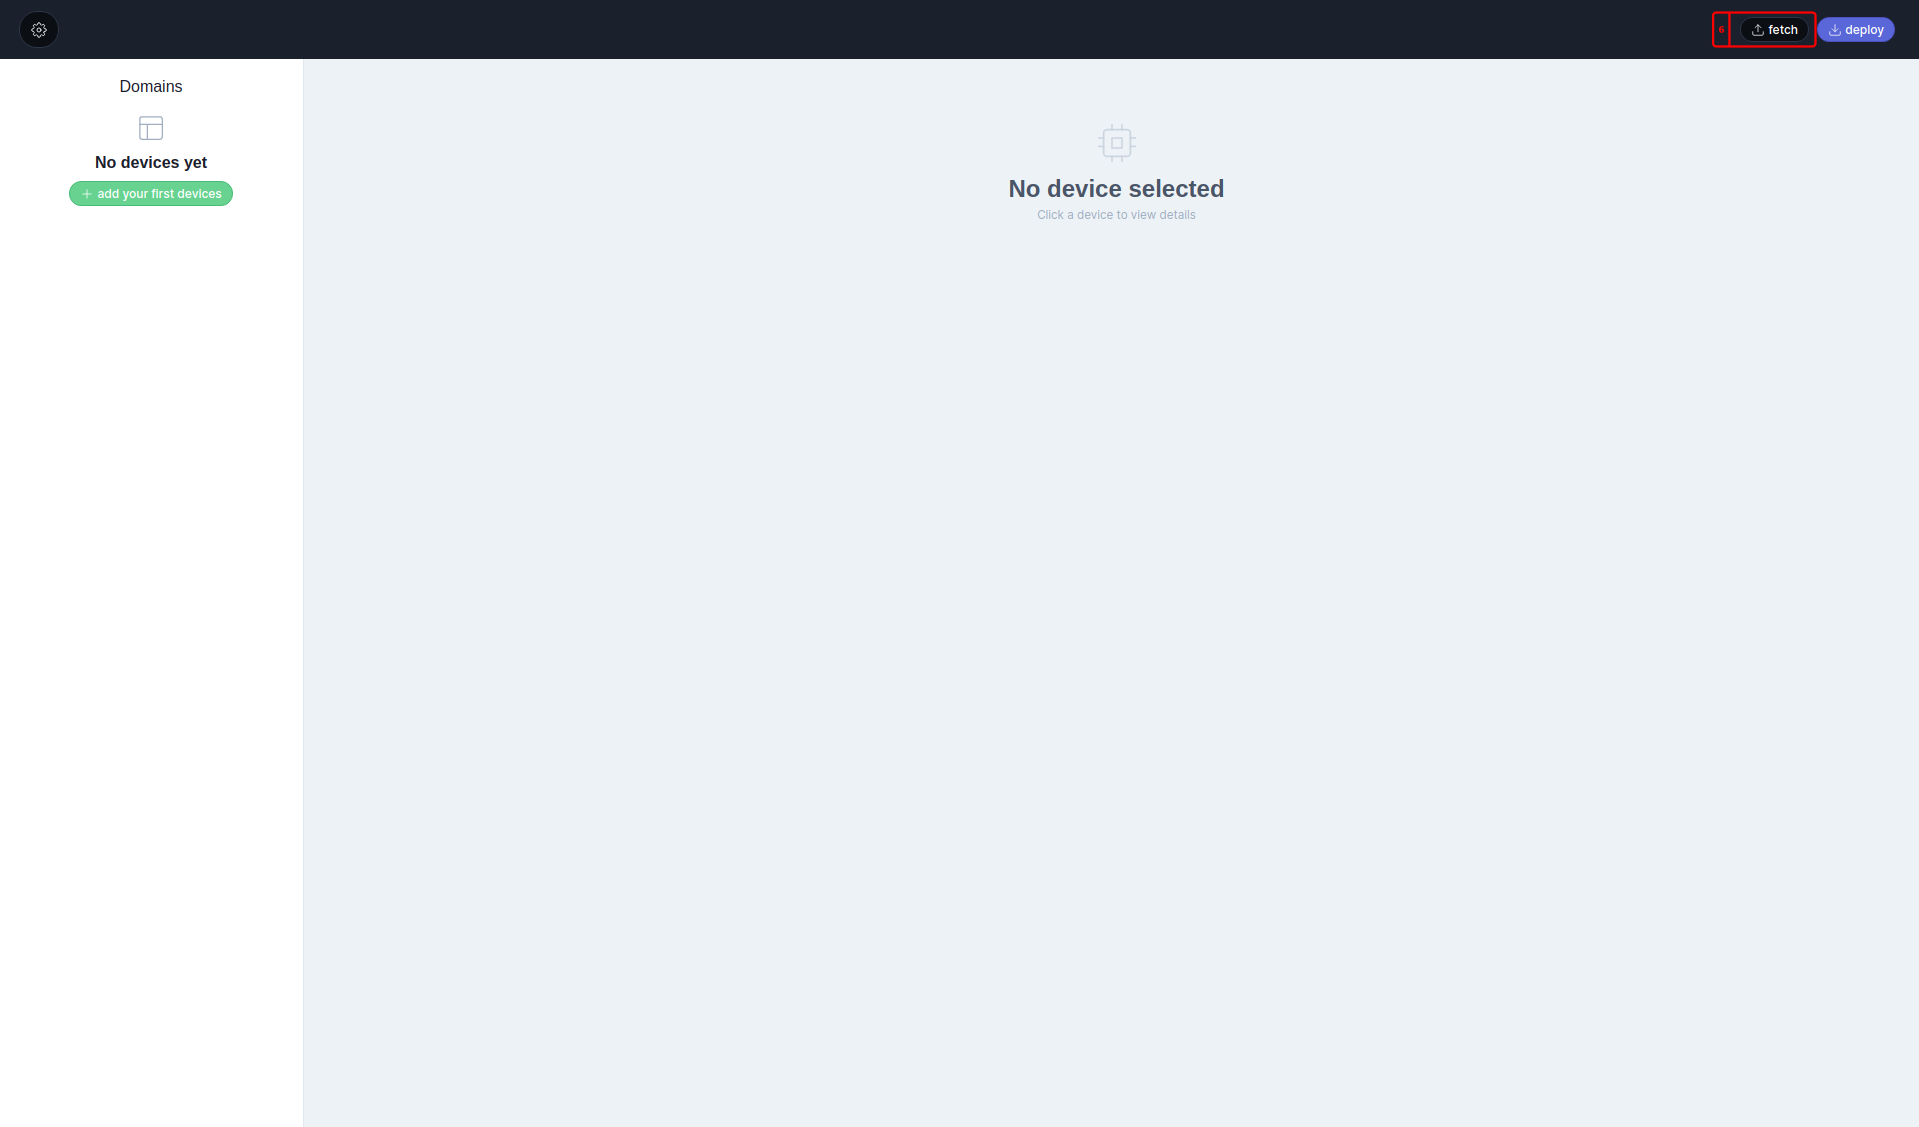
-
In the left menu
DomainsandDeviceswill show up that are pre-configured. Users of the GCC will need to keep theGCCdomain. all other domains can be deleted or disabled.
Add Devices
-
Next add a new domain by clicking the
+button.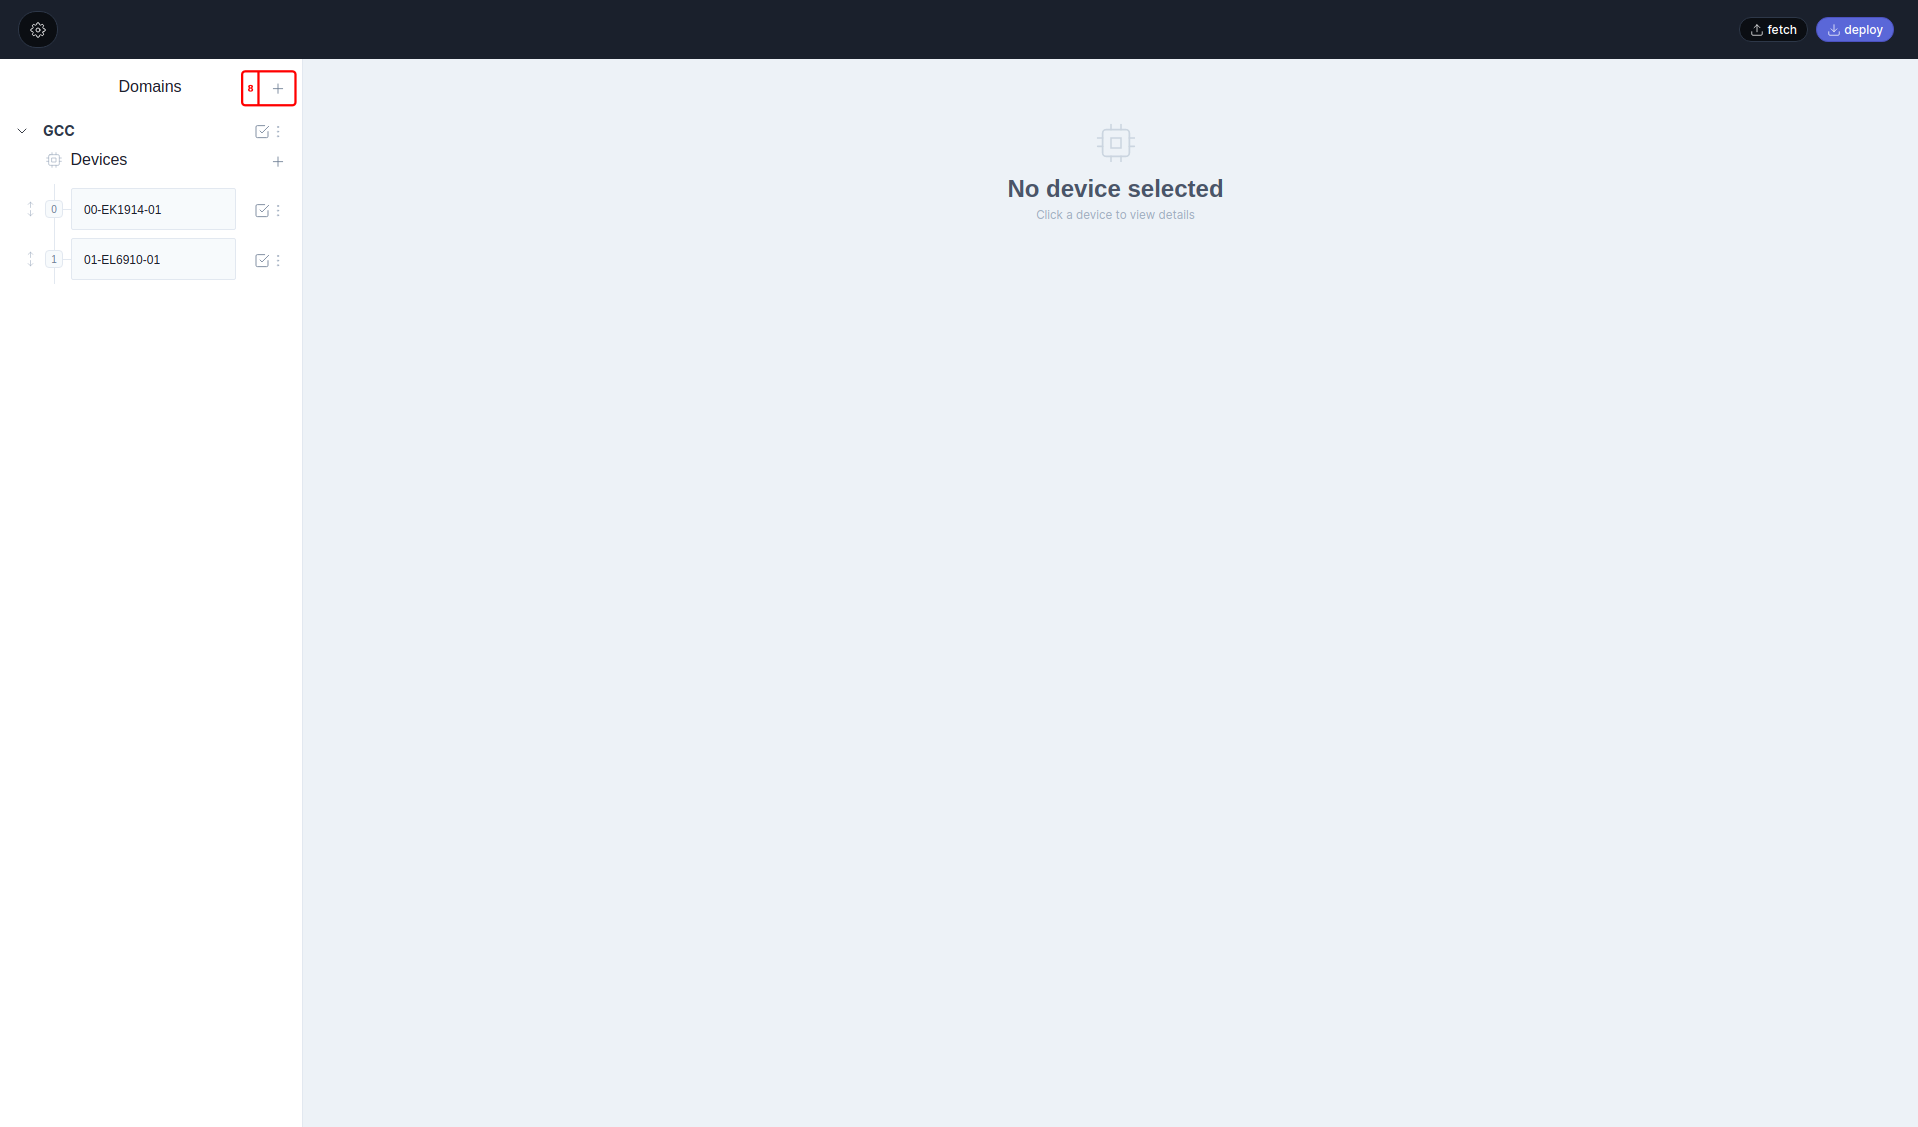
-
In this new domain you have to add a new device by pressing the
+button.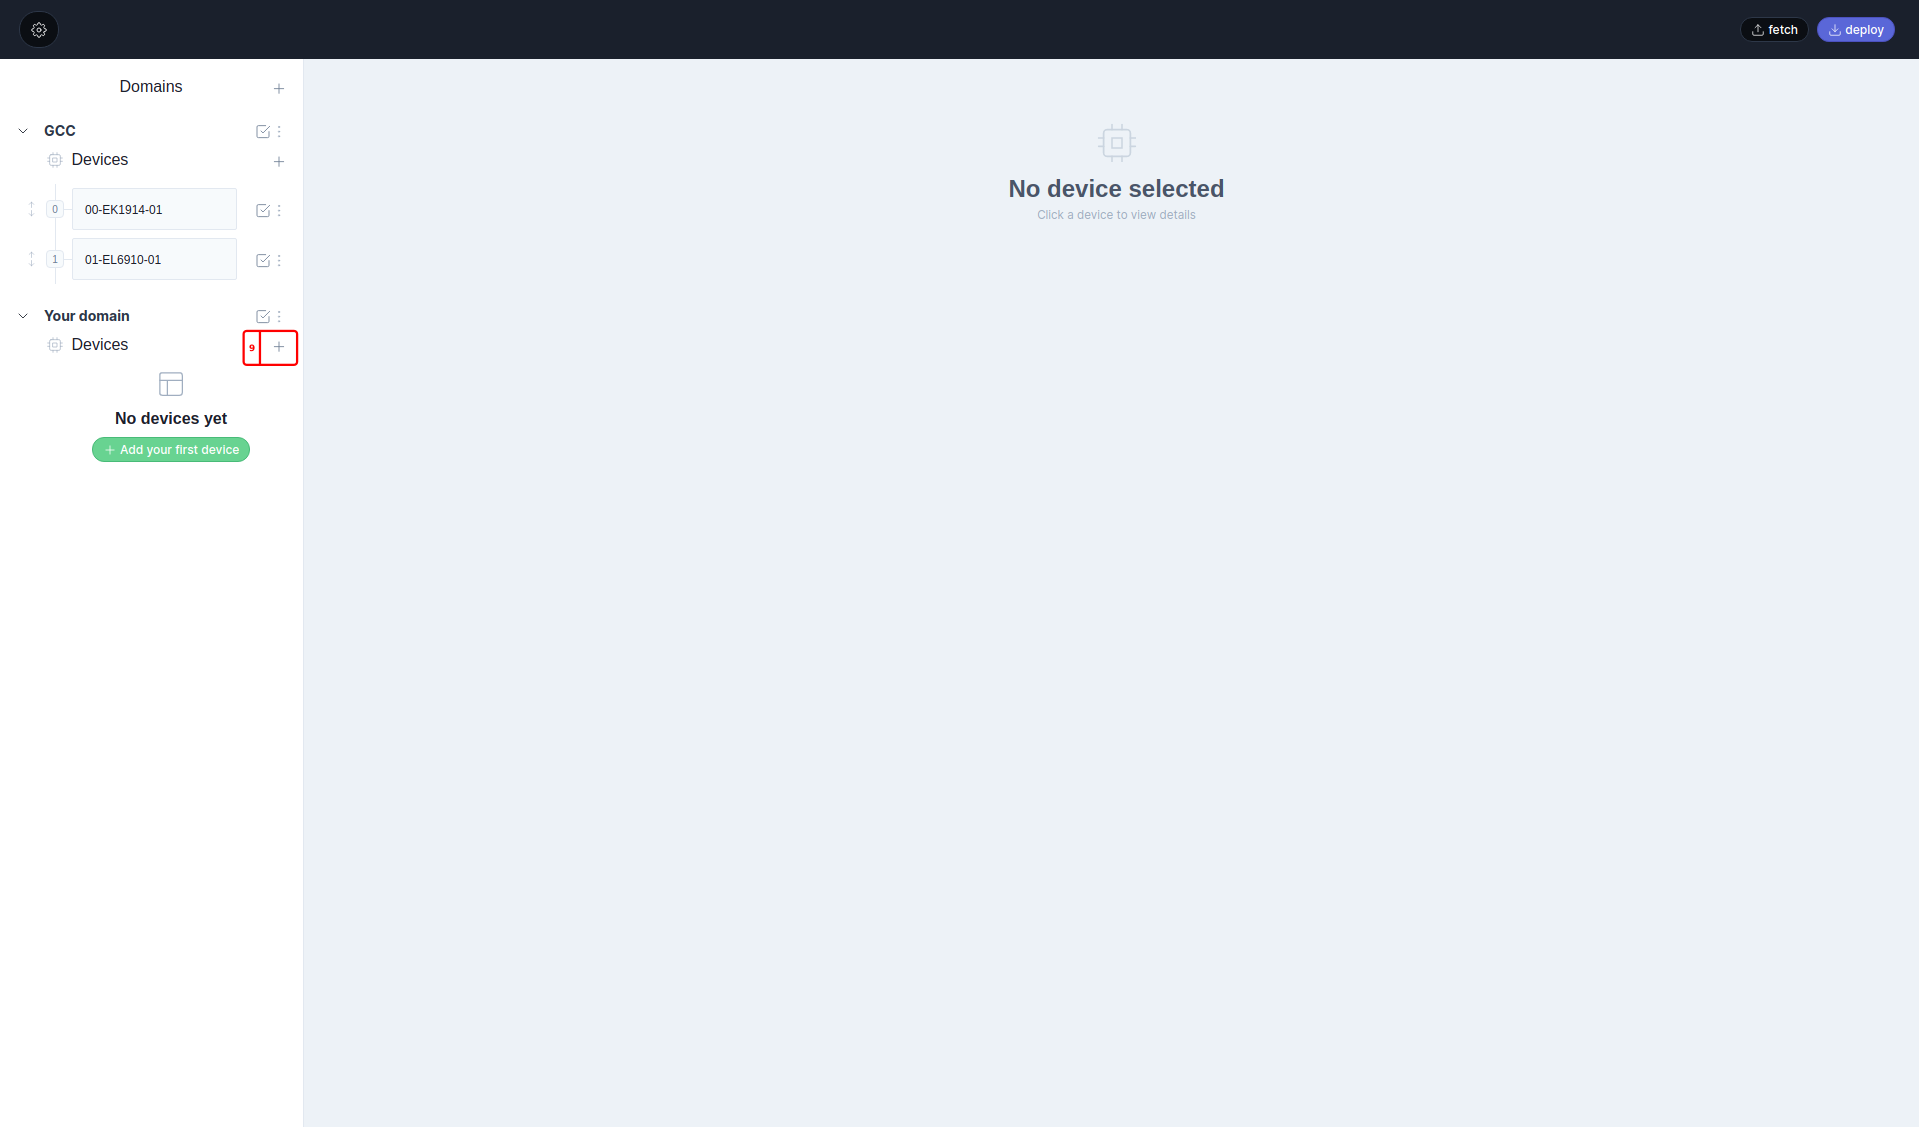
-
Within the tool a new window will pop up. Press the
Scan Busbutton to scan for all Available Ethercat Devices.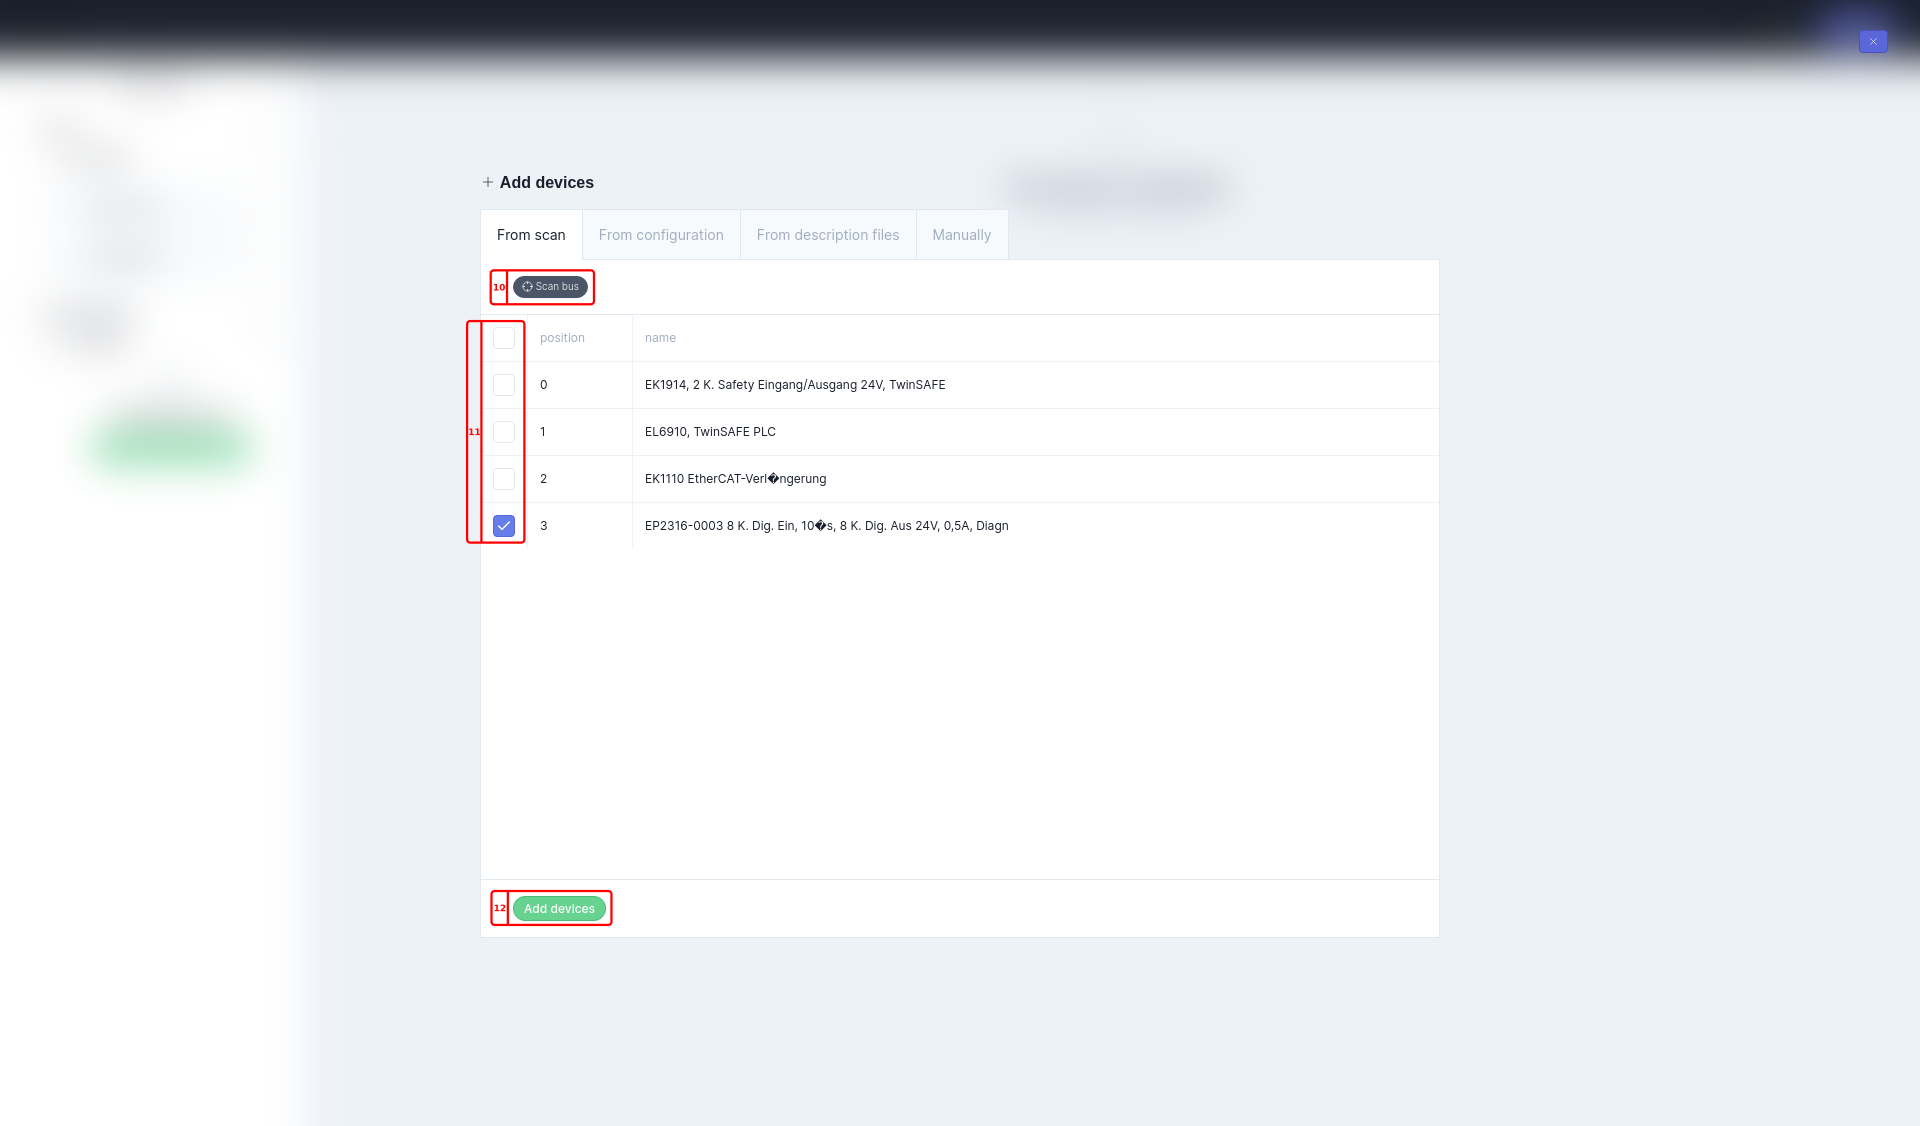
-
The fist 3 devices shown are GCC components. These are already configured so we can
uncheckthese. If we have checked the devices that we want to add we can push theAdd DevicesButton. -
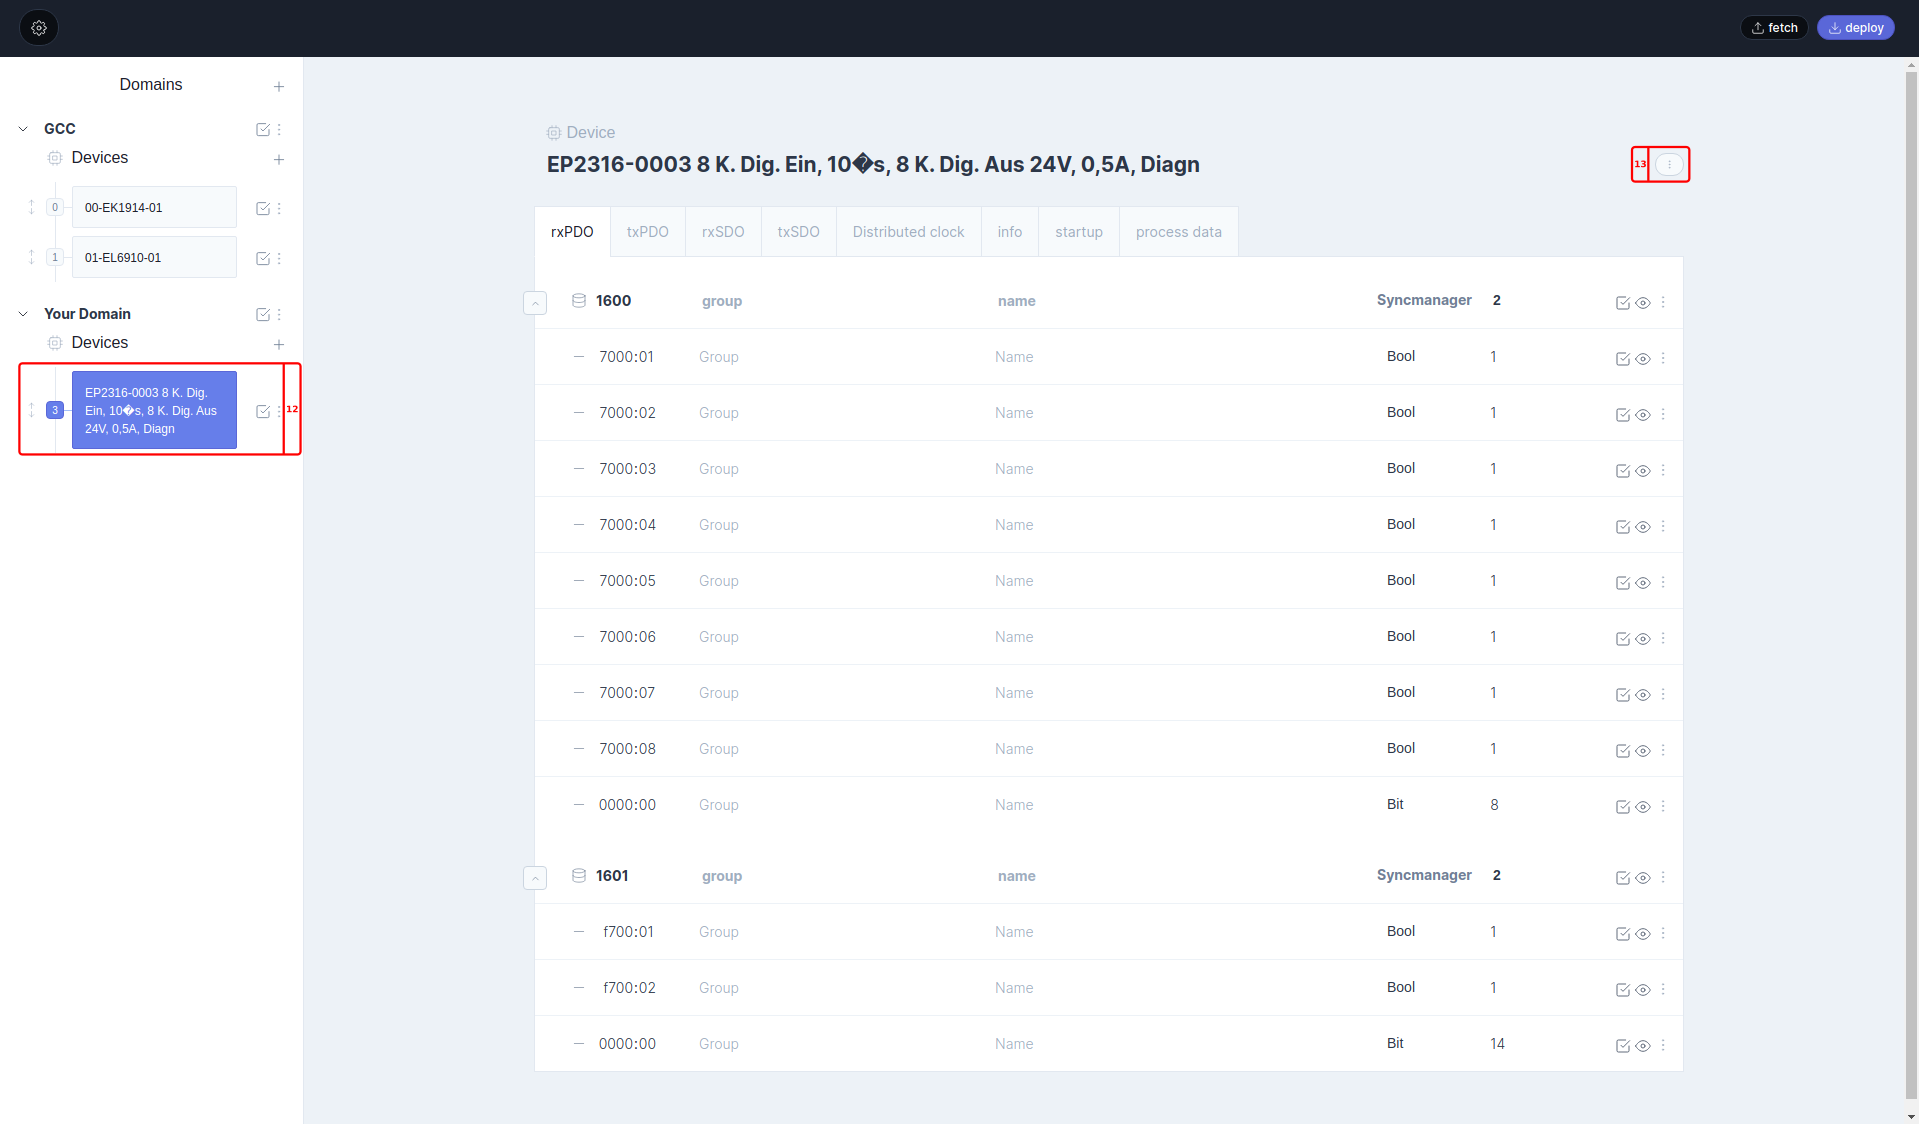
Click on your device. This will show your device configuration.
-
Click the 3 dotted button and select
desctription file. Every EtherCAT supplier should supply aESI.xmlfile. Upload theESI.xmlin the Motorcortex Ecat to have your PDO’s filled in automatically.
Deploy and save configuration
-
Press the
deploybutton to deploy your new configuration to your machine.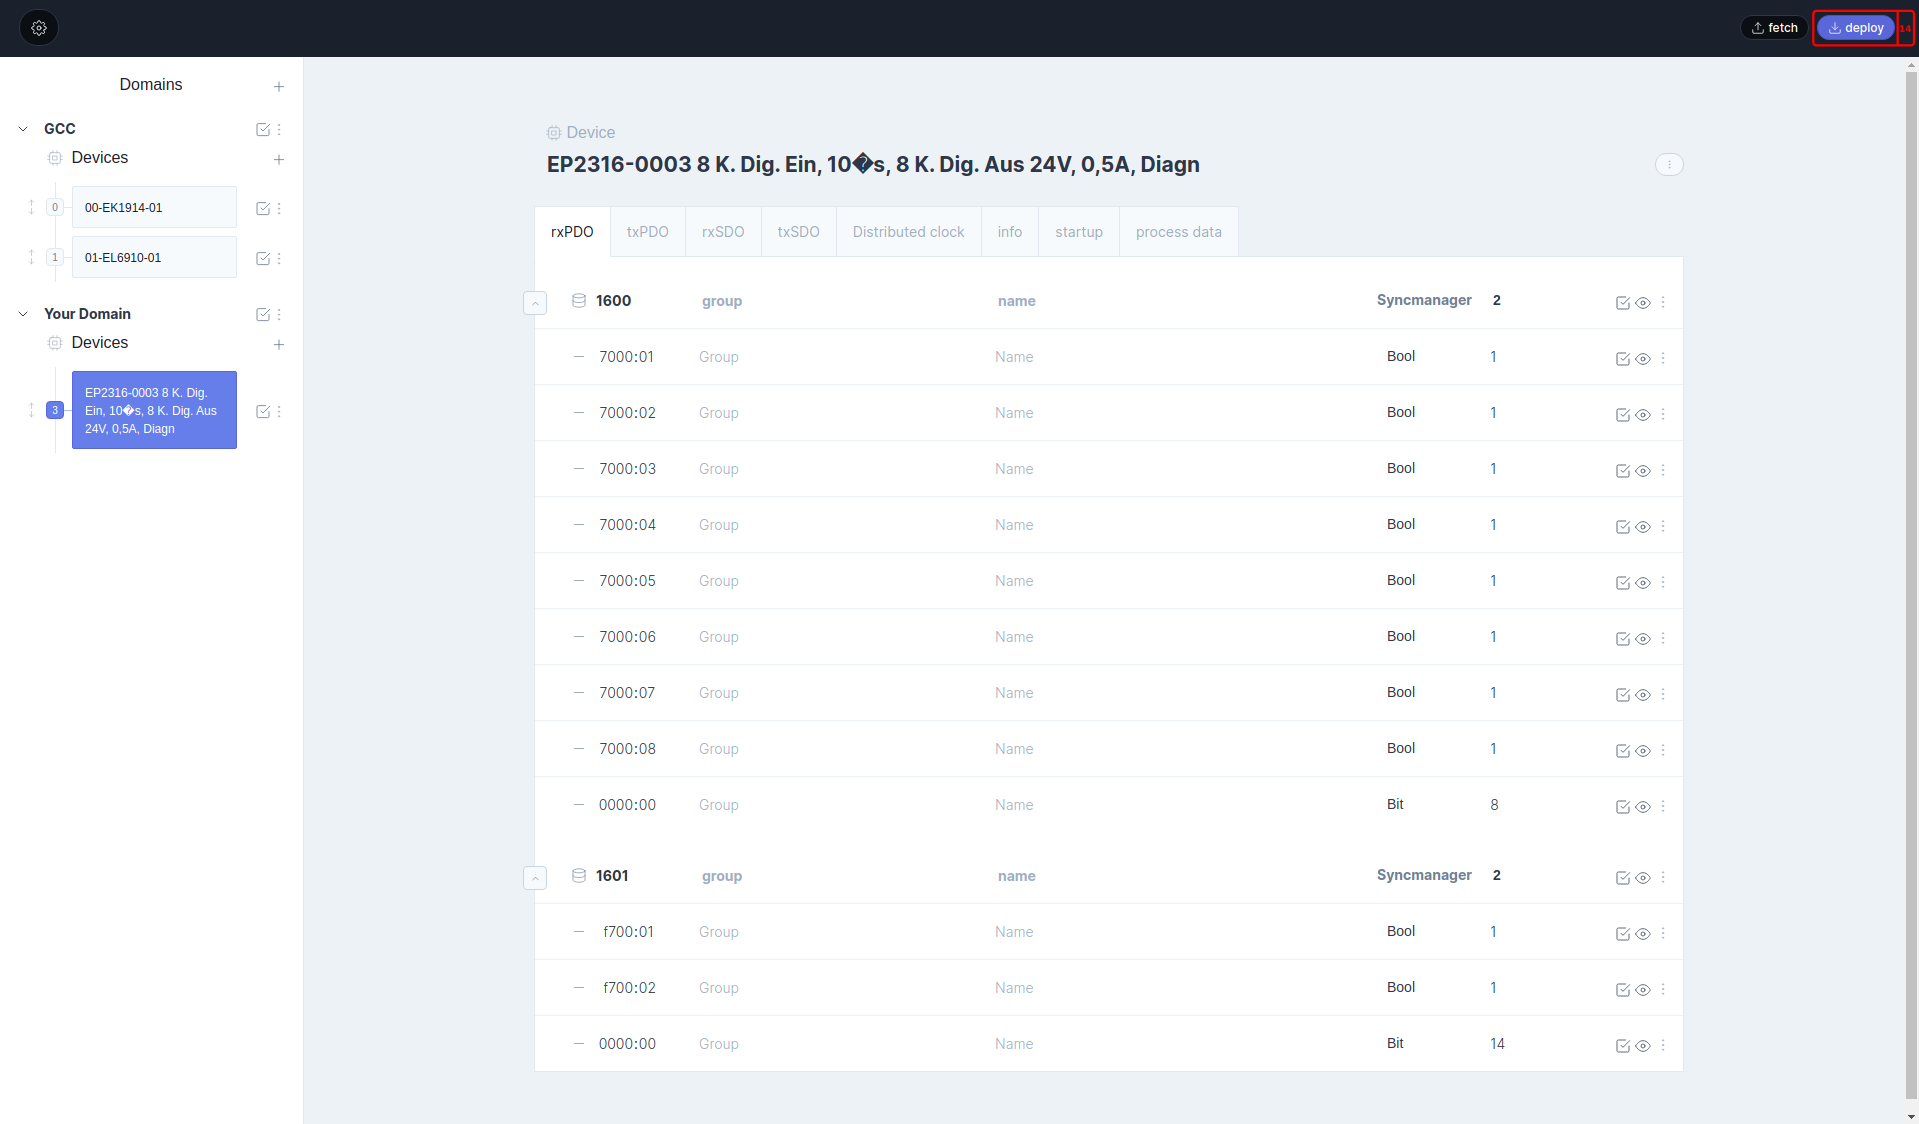
-
Congratulations you have configured your EtherCAT devices.
The next step is to Play with your Application. play