Use Motorcortex Desk
4 minute read
Motorcortex Desk shows the live parameter treeThe parameter tree holds every input, output and setting of the running application, in folders under root. It is live: you read and write the values while the application runs.
of your application in the browser. On this page you connect Desk to the controller, find the joint positions of the simulated robot, write a value and plot it.
Desk gives you every parameter of the running application, with no limits on what you change. That makes it the tool for testing and commissioning. In simulation you can try anything; on a real machine, use it with care.
Open Desk and connect
Desk talks to the controller over a secured WebSocketA WebSocket is a connection that stays open between the browser and the controller, so values can flow both ways without reloading the page. A secured WebSocket (wss) is encrypted like an https page. . The browser only opens one when it trusts the controller’s certificate, which you set up in Install a browser certificate.
-
Log in to motorcortex.io.
-
In the menu on the left, under
Tools, clickDesk. Desk opens in a new browser tab.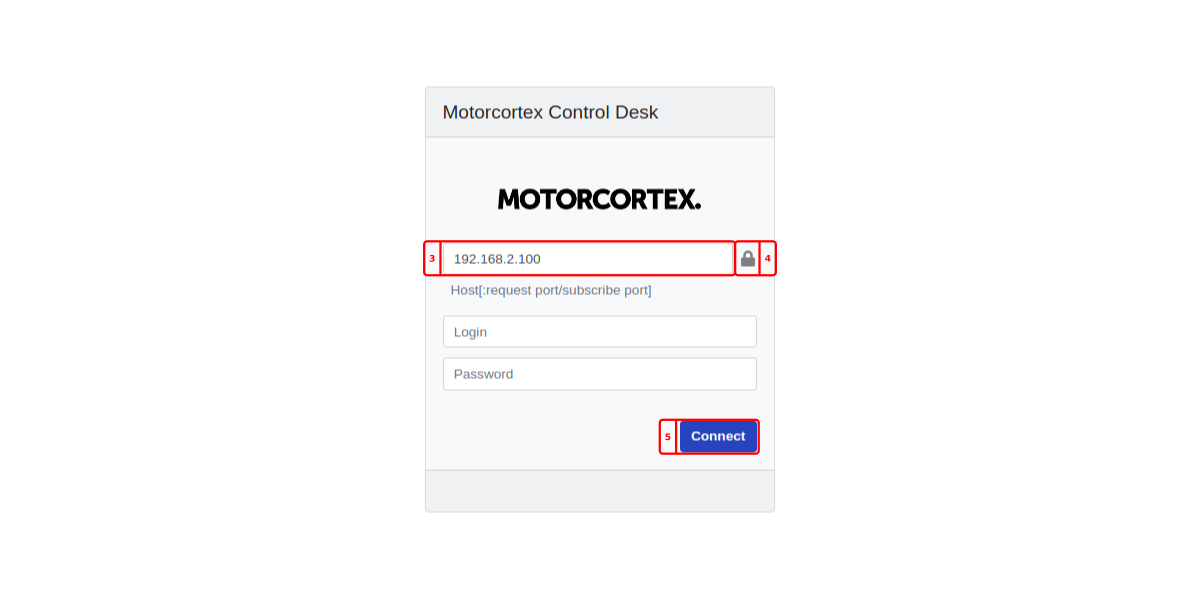
-
In the Connection panel, type the controller’s address in the address field:
controller_ip_addressThe IP address of your controller. In most cases 192.168.2.100., or the address of your cloud machine. Type the address only, with nohttpsin front and no port number. -
Leave the lock in the address field closed. A closed lock means a secured connection, and it is the default.
-
If your controller asks for a login, fill in the
usernameandpasswordfields. An empty username logs in asadministrator. -
Click
Connect, or press Enter in one of the fields.
The chip next to the panel title changes to Connected, and the Parameters panel fills with the tree of your application. If the chip stays at Connecting…, check the certificate and the network in Connection troubleshooting.
Find a parameter
The tree works like folders on a disk. Each parameter has a parameter pathA parameter path is the full name of a parameter: the folders from root down to the parameter, separated by /. For example root/Logic/state.
, such as root/Logic/state.
-
In the Parameters panel, open
root, thenManipulatorControl. -
Find
jointPositionsActual: the positions of the robot’s joints, which the simulator computes. The row shows the live values on the right. -
Go back to
rootand openUserParameters, thenIO. Findgripper. Its value is0.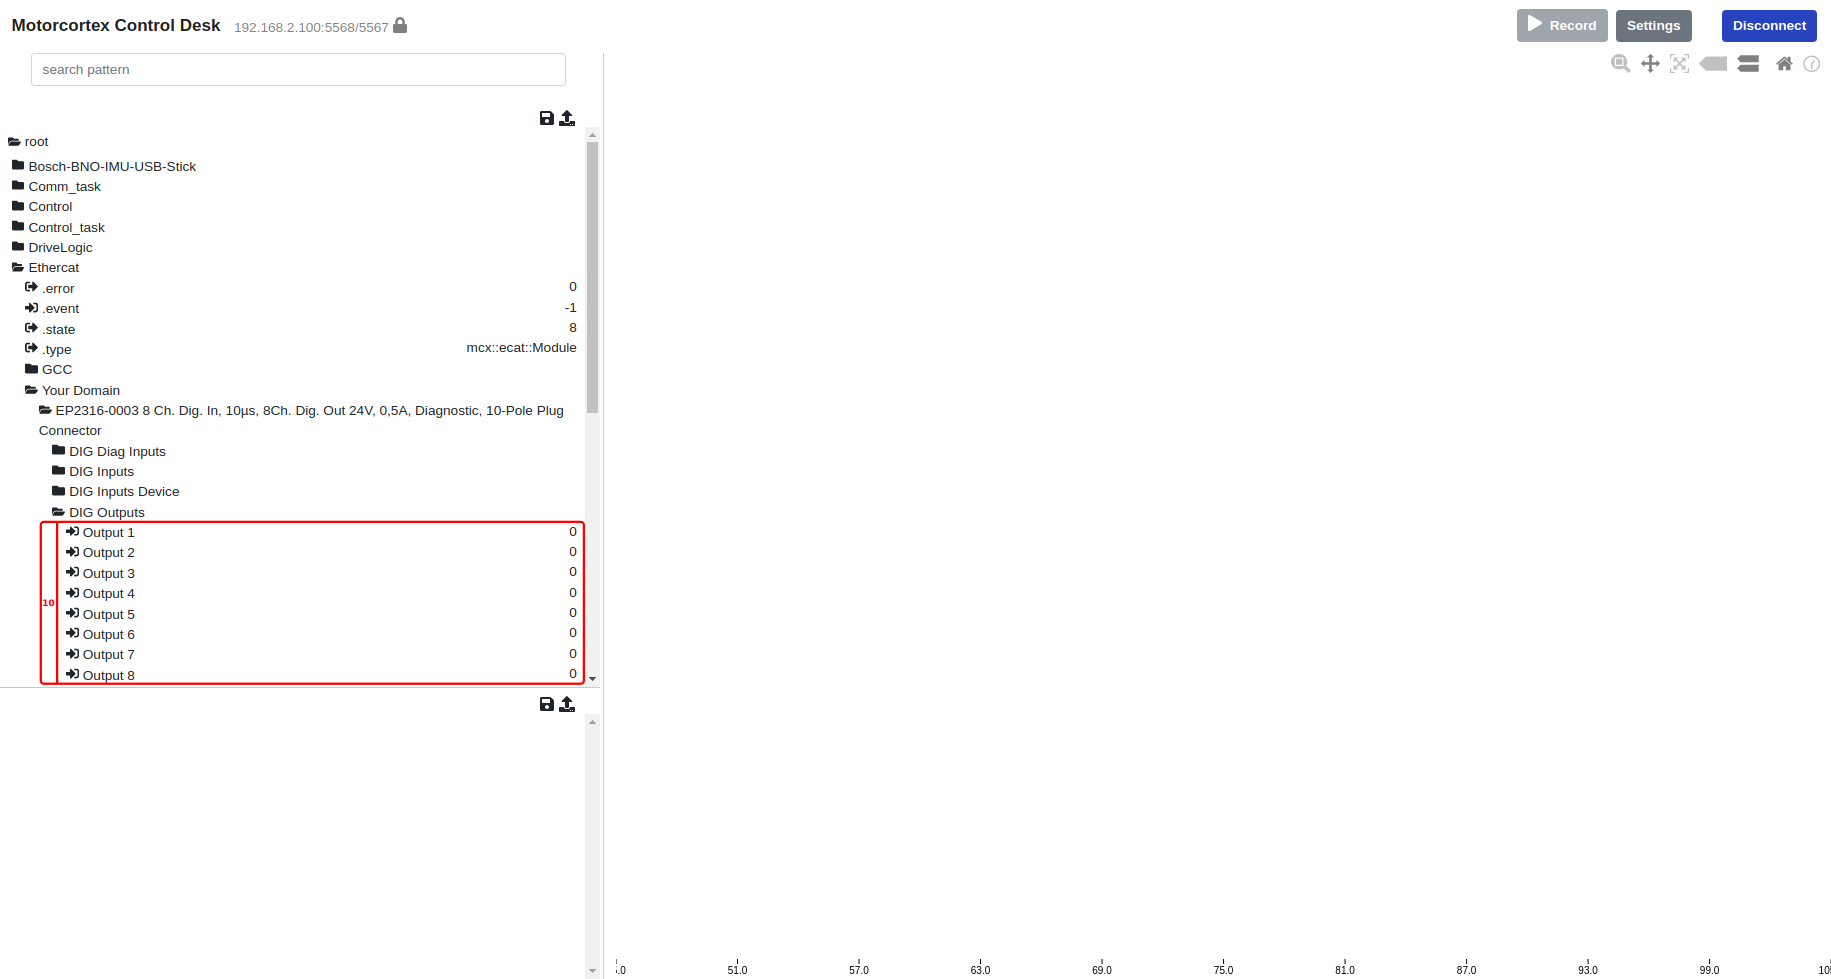
A tree can be large. To jump to a parameter, press Ctrl+F (Cmd+F on a Mac) and type part of its name in the Filter parameters… box above the tree. More about the tree and the filter is in Exploring parameters.
Plot a value
A plot shows how a value changes over time, which a single number cannot.
-
Double-click
gripper. The signal appears in the plot, and in the Active panel on the right. -
Double-click
jointPositionsActualto add the joint positions as well. The robot stands still, so they draw flat lines.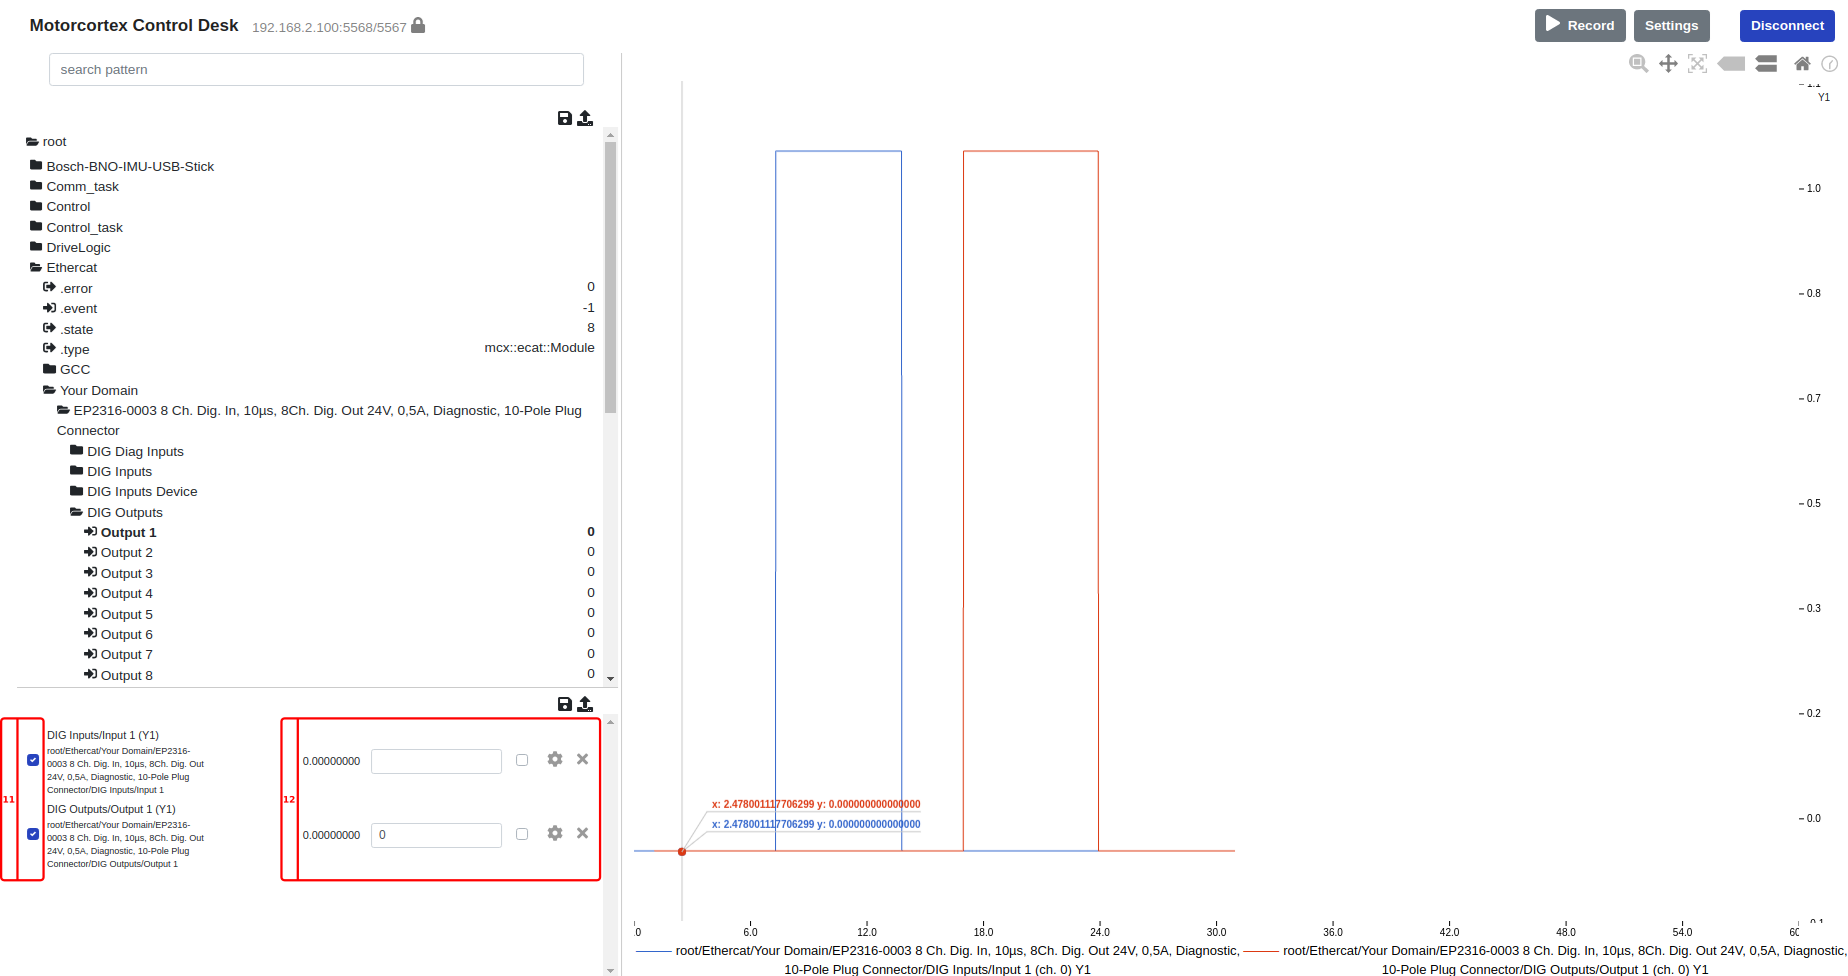
Double-click a plotted parameter again to remove it from the plot. In the Active panel you change a signal’s colour and axis, or hide it. See Plotting.
Write a value
You change gripper by writing a new value to it. Every writable parameter has an input field, which appears to the right of its value when you point at the row.
Warning
In simulation a write cannot move anything. On a real machine, the same field on a drive or an output can: check the path and the value before you press Enter.
- Point at the row of
gripperand click its input field. - Type
1and press Enter. The field flashes green when the write succeeds, and the plot steps from0to1. - Write
0the same way to set it back. Press Escape to leave a field without writing.
A plotted parameter also has an input field on its row in the Active panel, so you can write it without finding it in the tree again.
If the value jumps back right after you write it, the application itself writes that parameter every cycle. To hold your value anyway, right-click the parameter and choose Lock; choose Unlock to give it back to the application. A locked parameter no longer follows the application, so unlock it when you are done. Writing and locking are explained in full in Exploring parameters, under Writing.
Next: Create a GUI.