Virtual Machine full configuration
2 minute read
Converting Image
To use virtual box you will need a .vdi file. If you have a .img or compressed .img.xz you will need to convert these files using the following commands.
Ubuntu
-
Uncompress the
.img.xzby running the following command in the folder the.imgfile is located:unxz -k -v yourfile.xz` -
Convert the
.imgfile to a.vdifile by running the following command in the folder the.imgfile is located:VBoxManage convertfromraw yourfile.img yourfile.vdi
Windows
-
Uncompress the
.img.xzby using an appropriate archiver such as 7-Zip. -
Convert the
.imgfile to a.vdifile by running the following command in the folder the.imgfile is located:C:\"Program Files"\Oracle\VirtualBox\VBoxManage convertfromraw yourfile.img yourfile.vdi
Setting up the Virtual Machine
Setting up the virtual machine has to be done using the folowing steps:
-
Open
VirtualBoxand click onNew.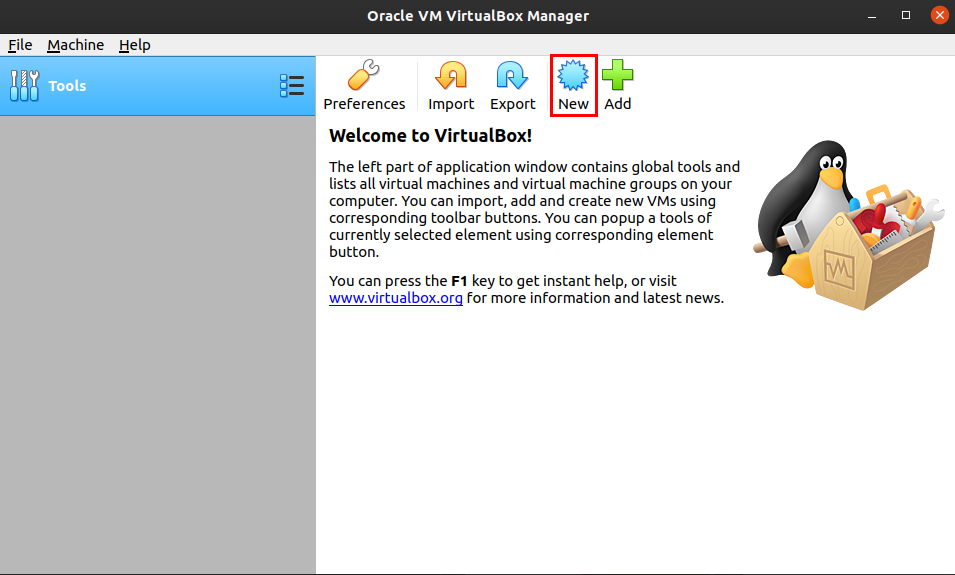
-
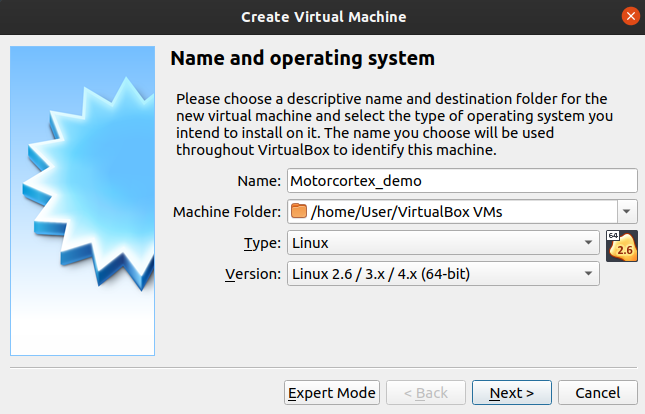
In the
Create Virtual Machinepop-up the following settings have to be selected.-
Name: desired name
-
Machine Folder: desired folder
-
Type: Linux
-
Version: Linux 2.6/3.x/4.x(64-bit)
-
-
Click
Next. -
Set the memory size to
8000 MBand clickNext.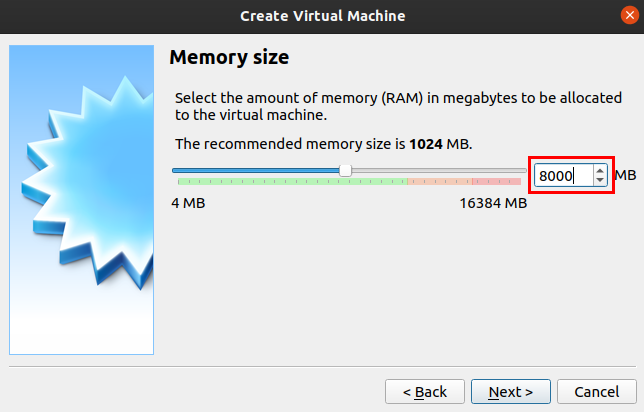
-
select the
Use an existing virtual hard disk fileand click on the folder icon.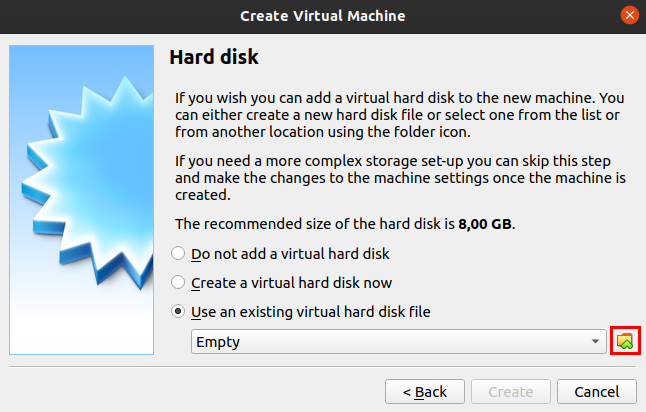
-
Click the
Addicon and browse to the desired.vdifile.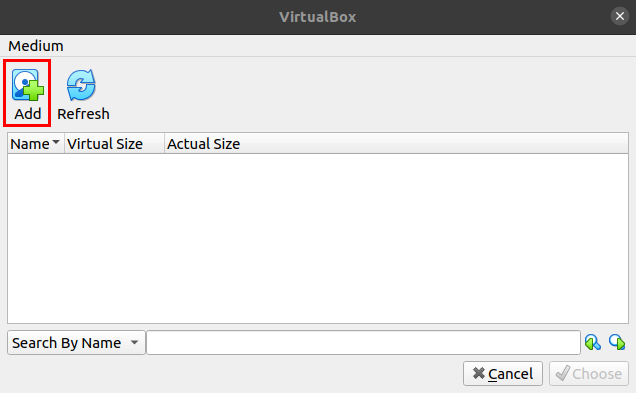
-
Click
Choose.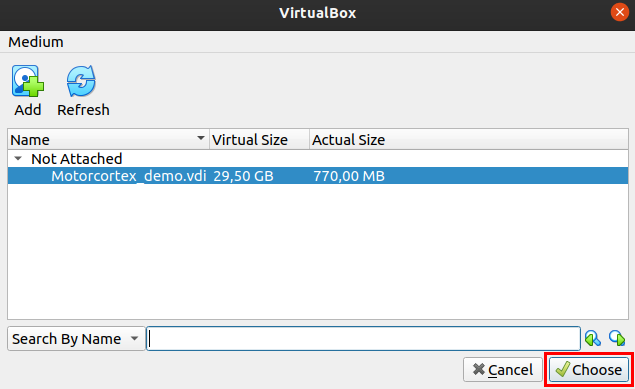
-
Click
Create.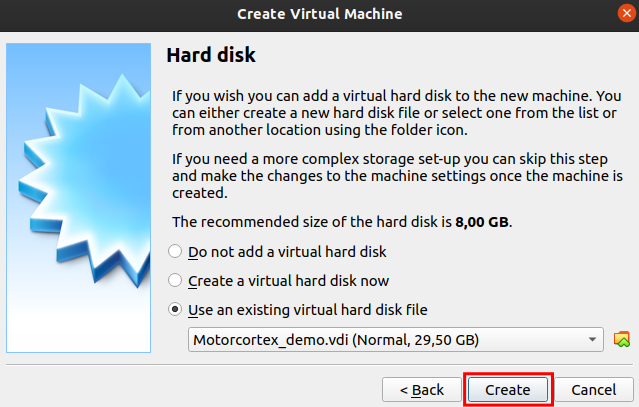
A virtual machine is created. Now the Network has to be configured.
-
Click
Fileand go toHost Network Manager.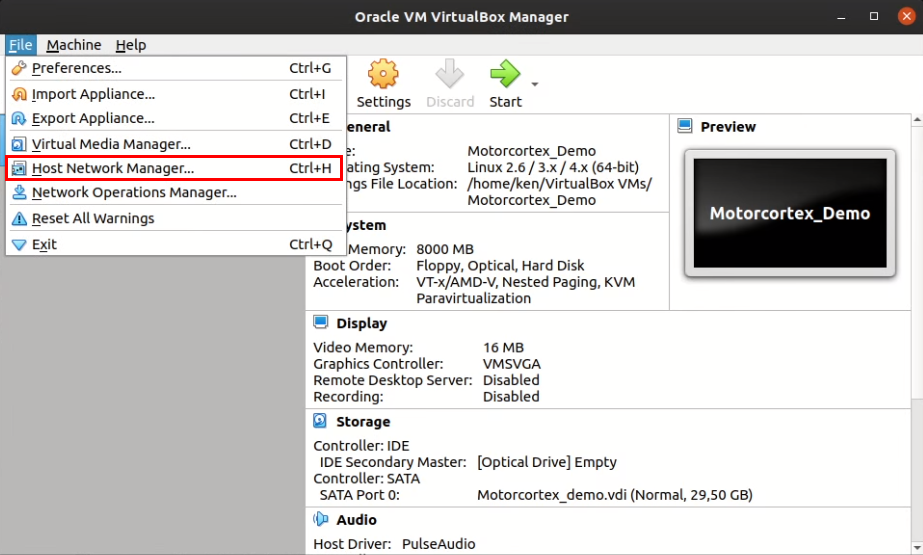
-
In the
Host Network Managerfill in the settings as following.-
Disable the DHCP Server uncheck the box
-
IPv4 Address: 192.168.2.1
-
Network Mask: 255.255.255.0
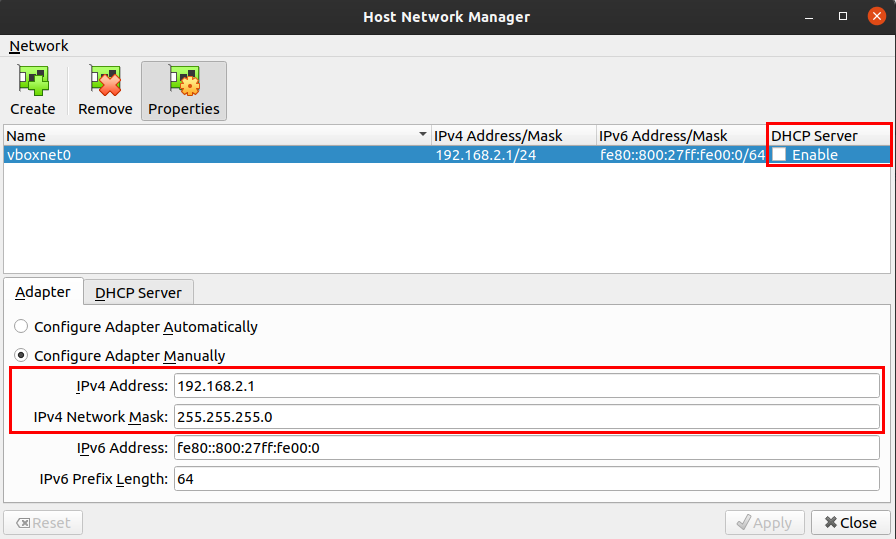
-
Note: Linux users have to add/adjust the networks.conf file in the /etc/vbox directory. This file should contain the following line:
cd /ect/vbox
sudo nano networks.conf
* 192.168.2.0/24
-
Close the
Host Network Manager.The network manager is now configured. Now the system settings have to be checked.
-
click on
settings.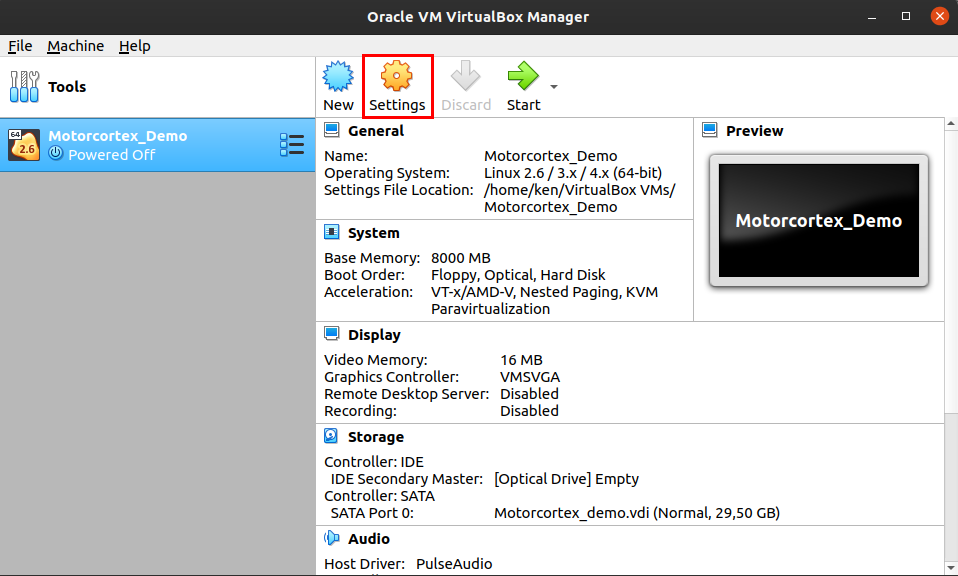
-
In
Systemunder theMotherboardtab make sure theEnable EFIbox is checked.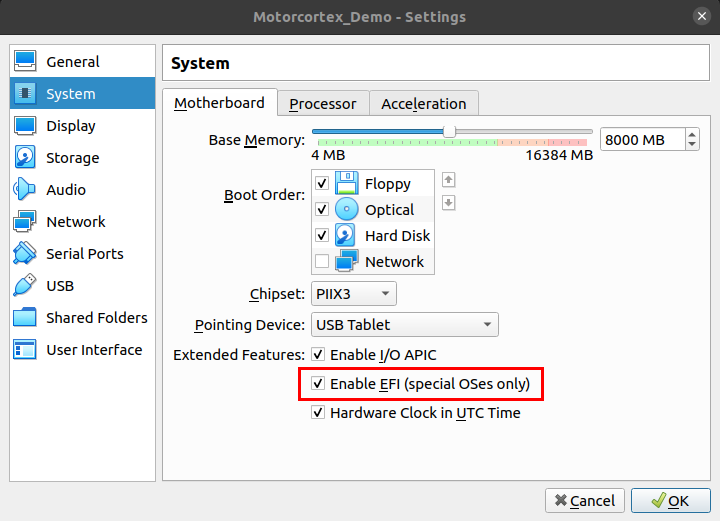
-
In
Systemunder theMotherboardtab make sure thatProcessor(s)is set to 4 CPU’s.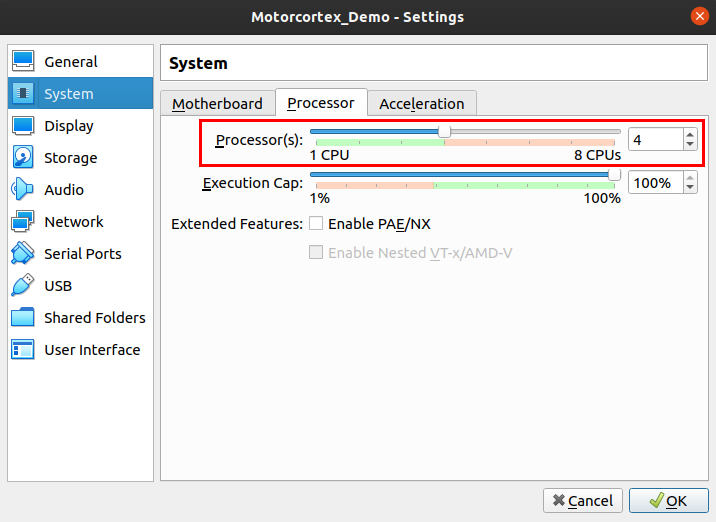
-
In
Networkunder theAdapter1tab setAttached totoHost-only Adapter.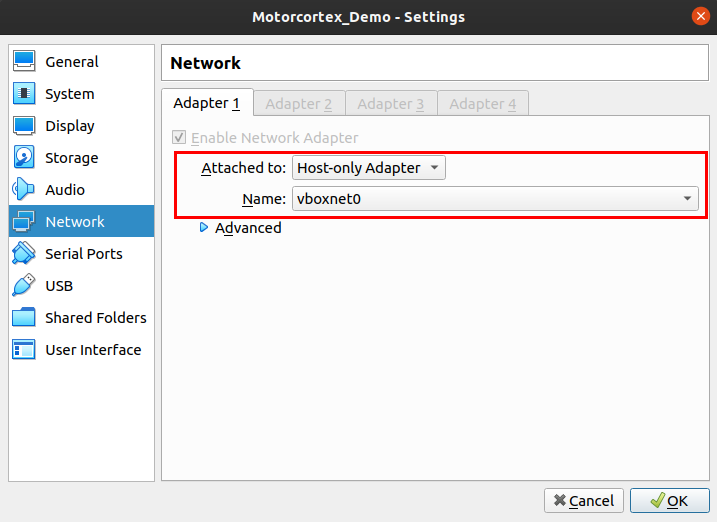
-
Click
OKThe virtual machine has now been set up.