Create a GUI
3 minute read
Motorcortex grid is a After controlling our application we can start to create a GUI for our application. The following steps will show you how to create your own Motorcortex GUI.
Prerequisites
- Laptop
- Motorcortex.io account
- Motorcortex Controller with running application connected to laptop
- EtherCAT IO Device

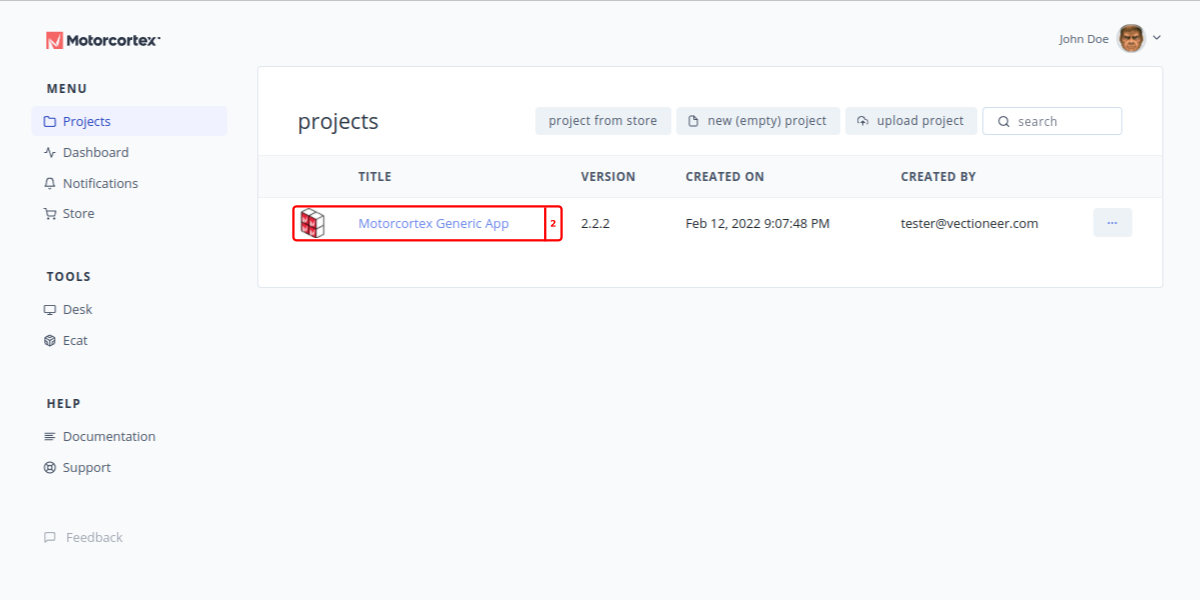
Access the Motorcortex Grid
-
Login to your motorcortex.io account. If you don’t have a account yet make sure to to register for an account.

-
Go to your project folder in Motorcortex.io.
-
In your Project view Navigate to the
gridpackage.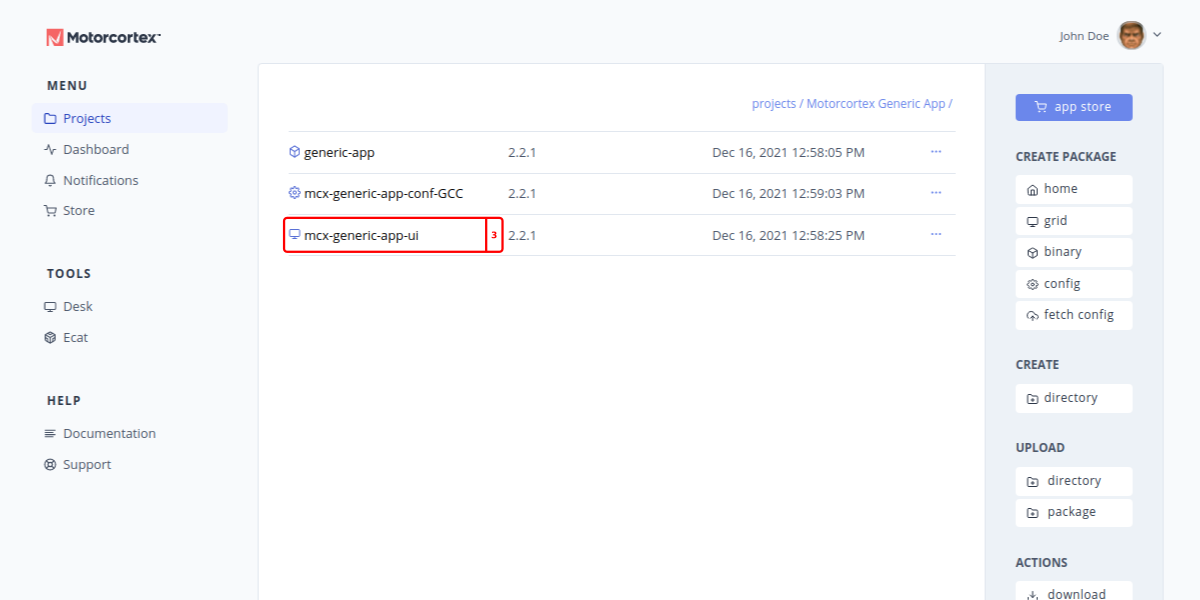
-
Create a new gui by pressing the
grid filebutton in the right tab underCREATE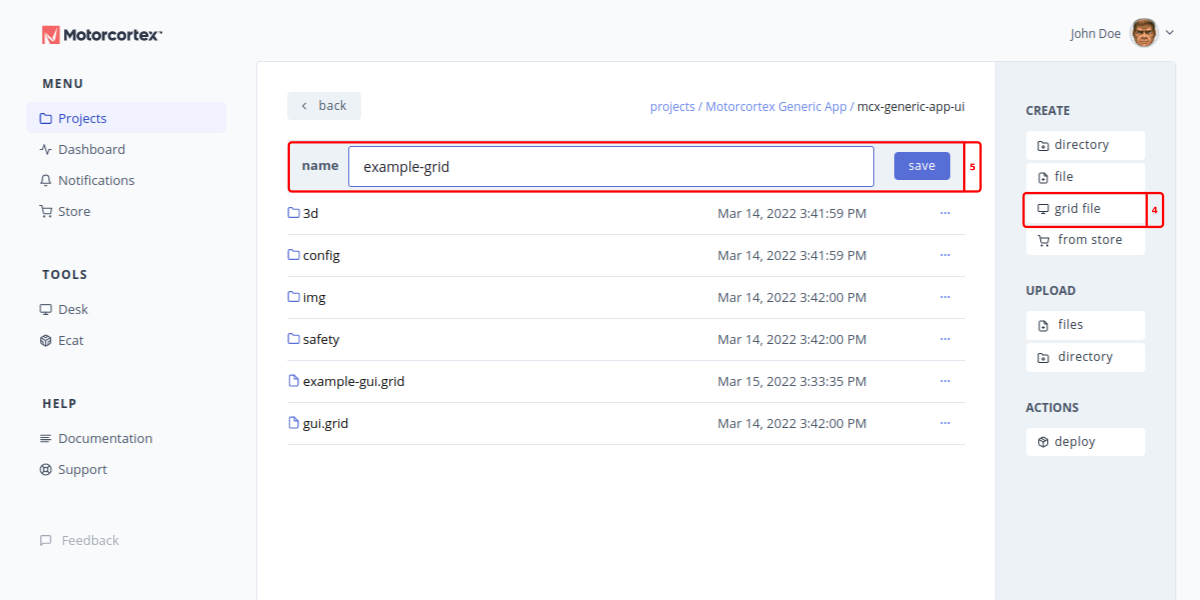
-
Give your new
.gridfile a name and save. -
Double Click the
.gridfile you created to open theMotorcortex Gridtool.
Connect Motorcortex Grid
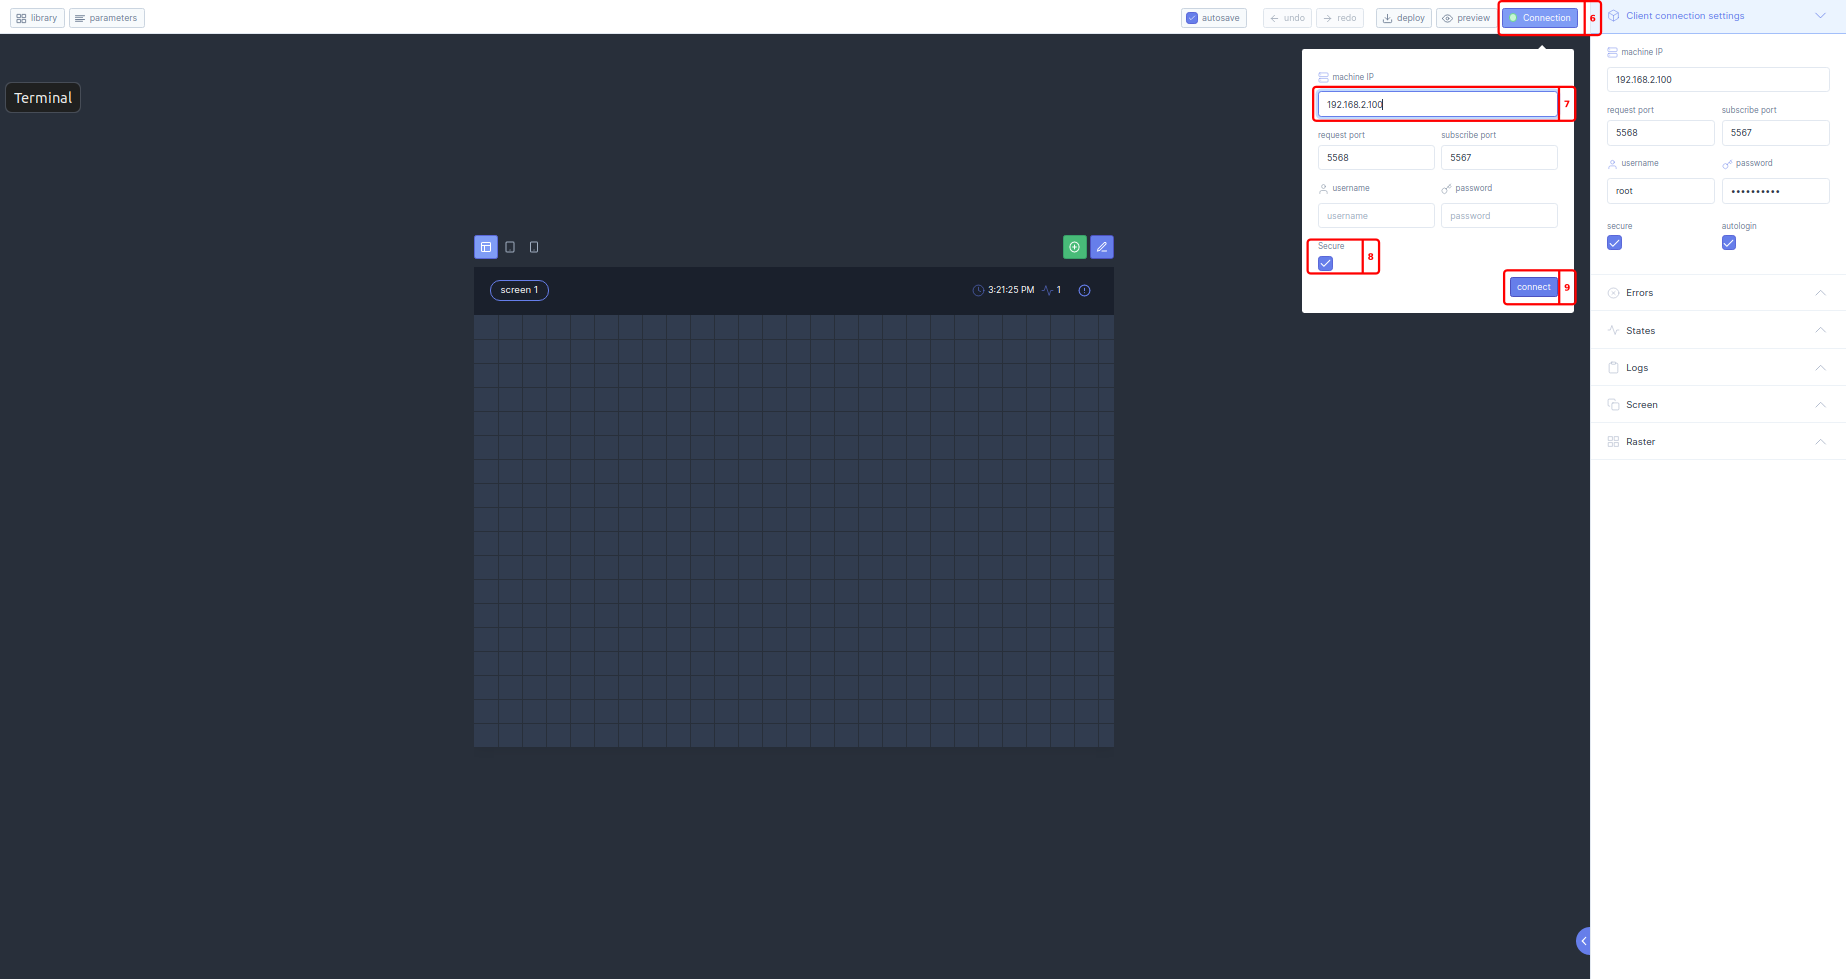
In Motorcortex Grid you can create your own Graphical User Interface. The next will show you how create a basic GUI.
-
In Grid press the Connect button on the right int the top bar.
-
Fill in the controller IP (Per default this is
192.168.2.100) -
Check the
secure connectioncheckbox. -
Hit the
connectbutton to connect to your controller.
Add Motorcortex Grid Components
-
On the top left you will find the
librarybutton. Hit this button to expand the Library.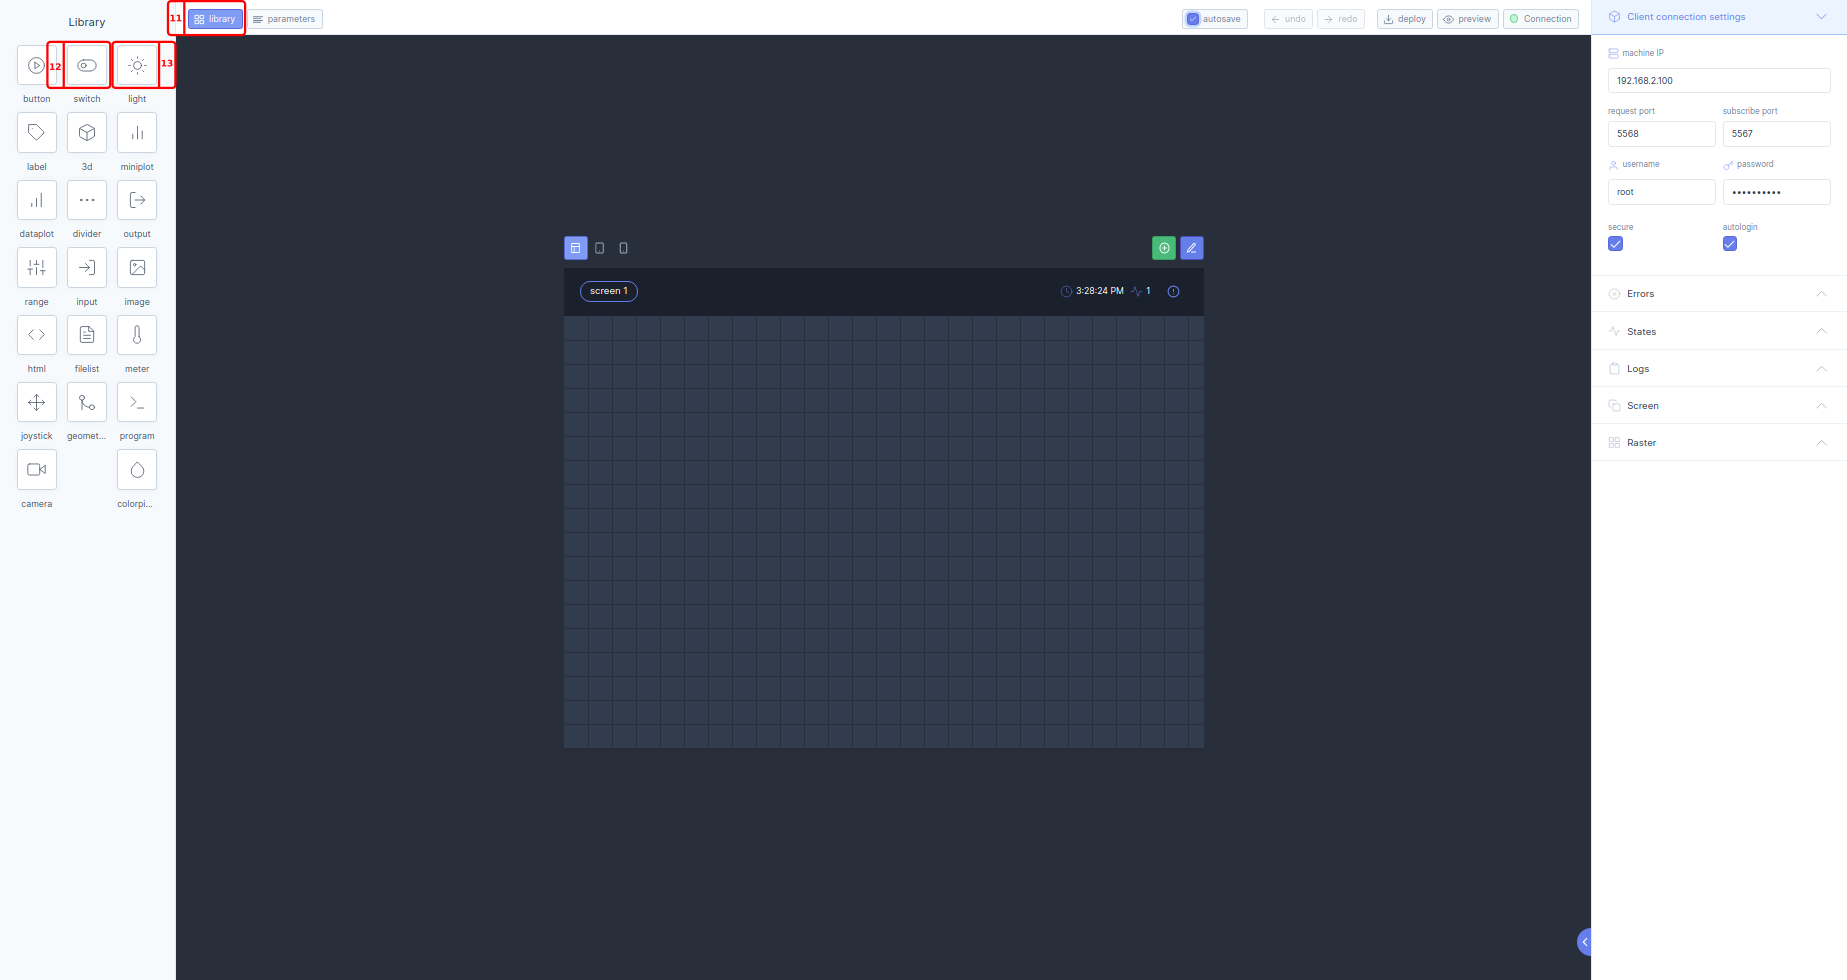
-
Add for Example a
switchto connect a lamp. -
Add for Example a
lightto connect to a push button. -
Drag the elements to your desired location in the grid.
Link Motorcortex Grid Components
-
Select the
switchelement. The right tab will now show the element properties of this switch. -
Under
PATHclick the path input box. This will open the Parameter Tree on the left tab.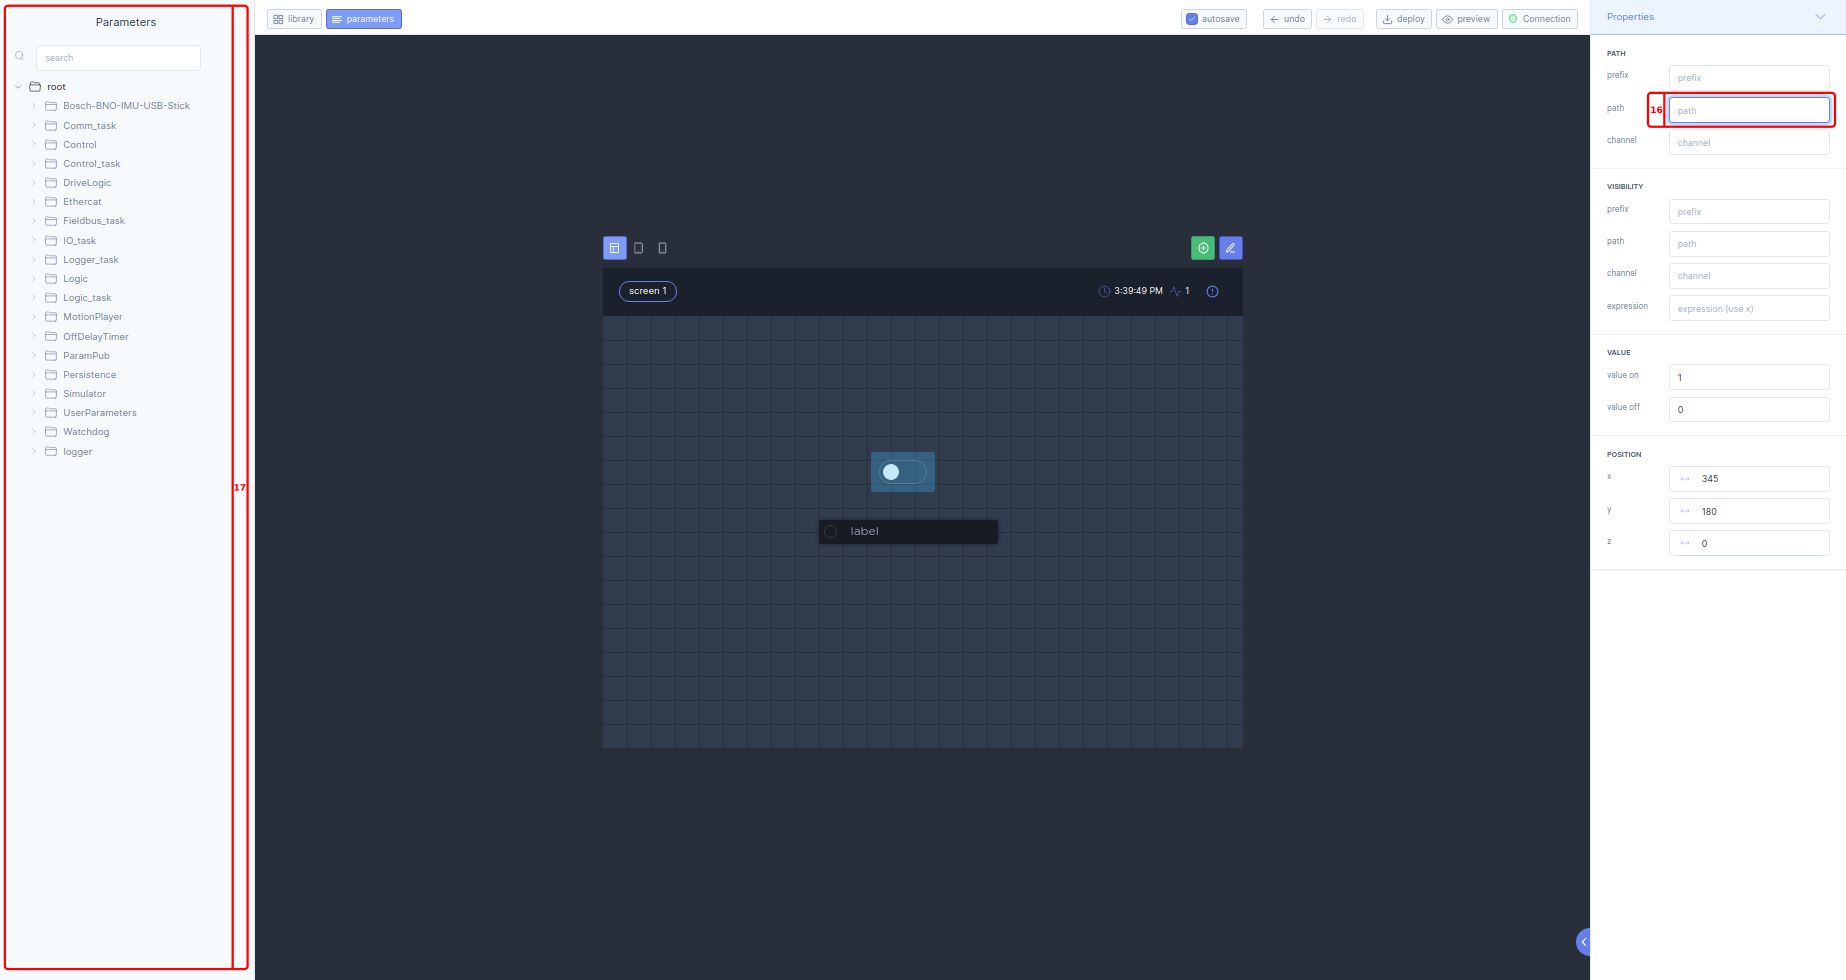
-
In the Parameter tree browse to
Ethercat/yourdomain/yourdeviceand click the Output that has the lamp connected to it. this will add the path to your element. -
Select the
lightelement. The right tab will now show the element properties of this light. -
Under
PATHclick the path input box. This will open the Parameter Tree on the left tab. -
In the Parameter tree browse to
Ethercat/yourdomain/yourdeviceand click theInputthat has the switch connected to it. This will add the path to your element.
Test GUI
-
Press the
previewbutton on the upper right hand side to test our GUI.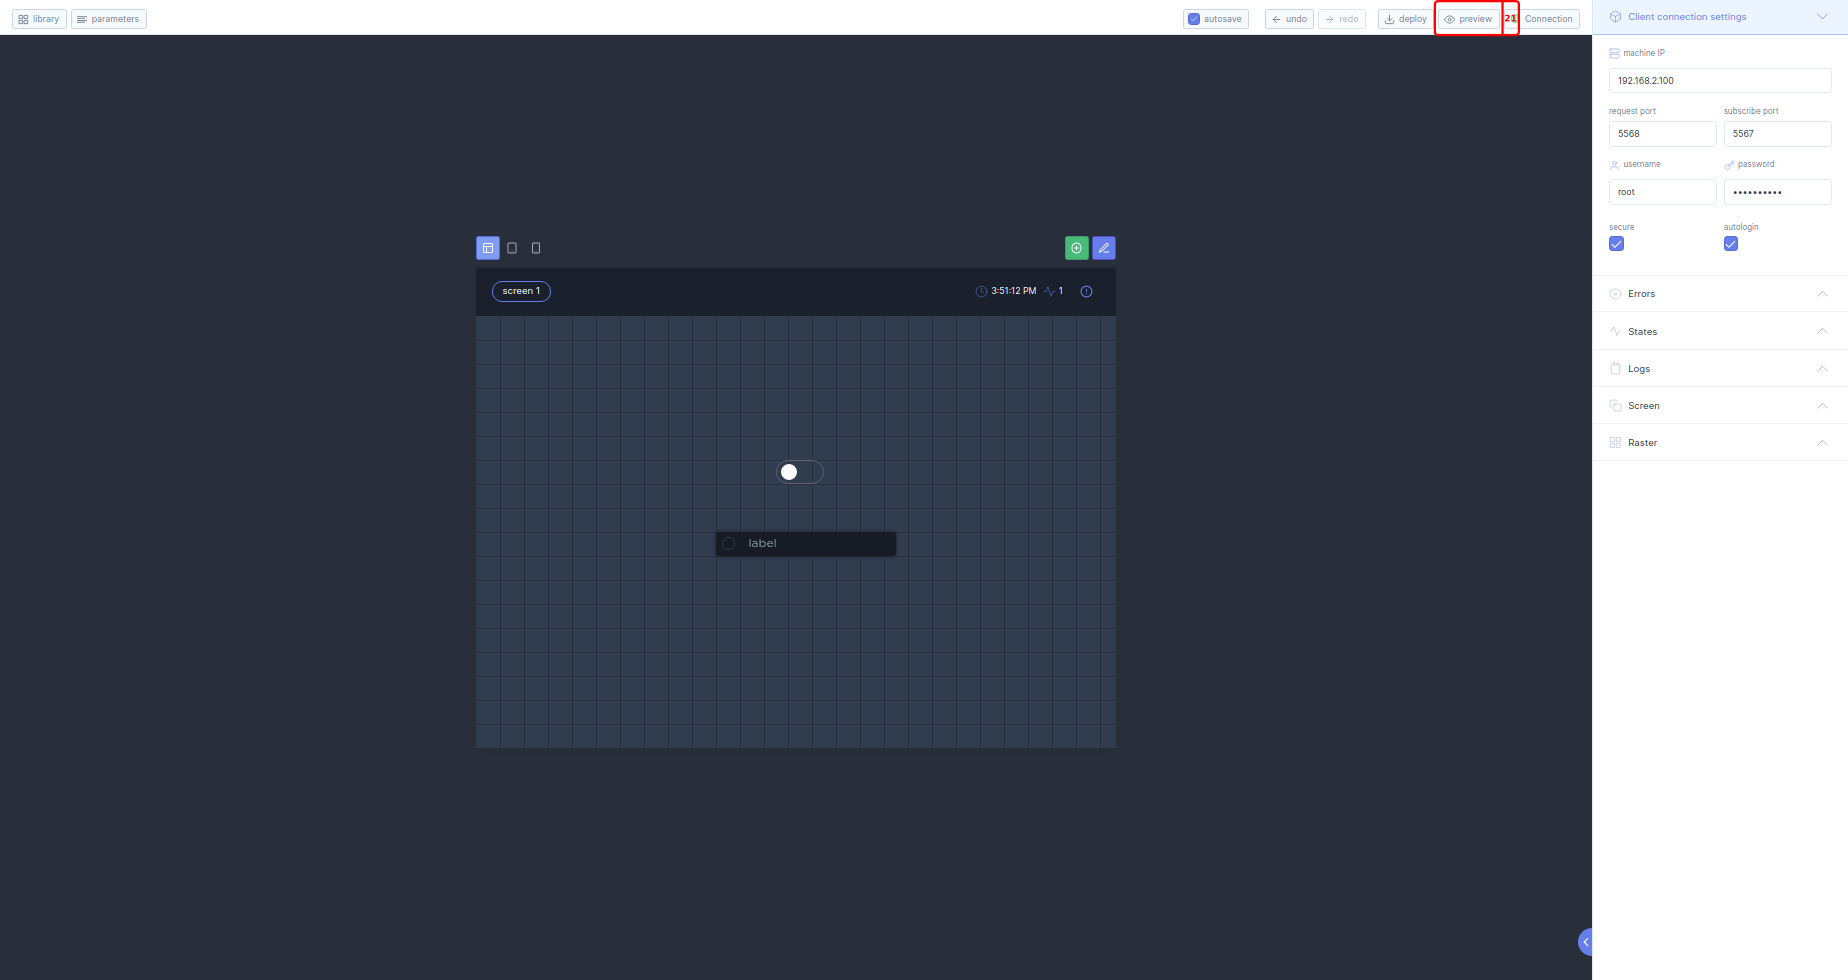
-
A new tab will open with our Preview GUI. Here we can test if our switch and light works. If everything works, we can deploy the new GUI to your controller
Deploy GUI to Motorcortex Controller
-
In Motorcortex.io go to your project folder and
User Interfacedirectory. -
On the right tab press the
deploybutton.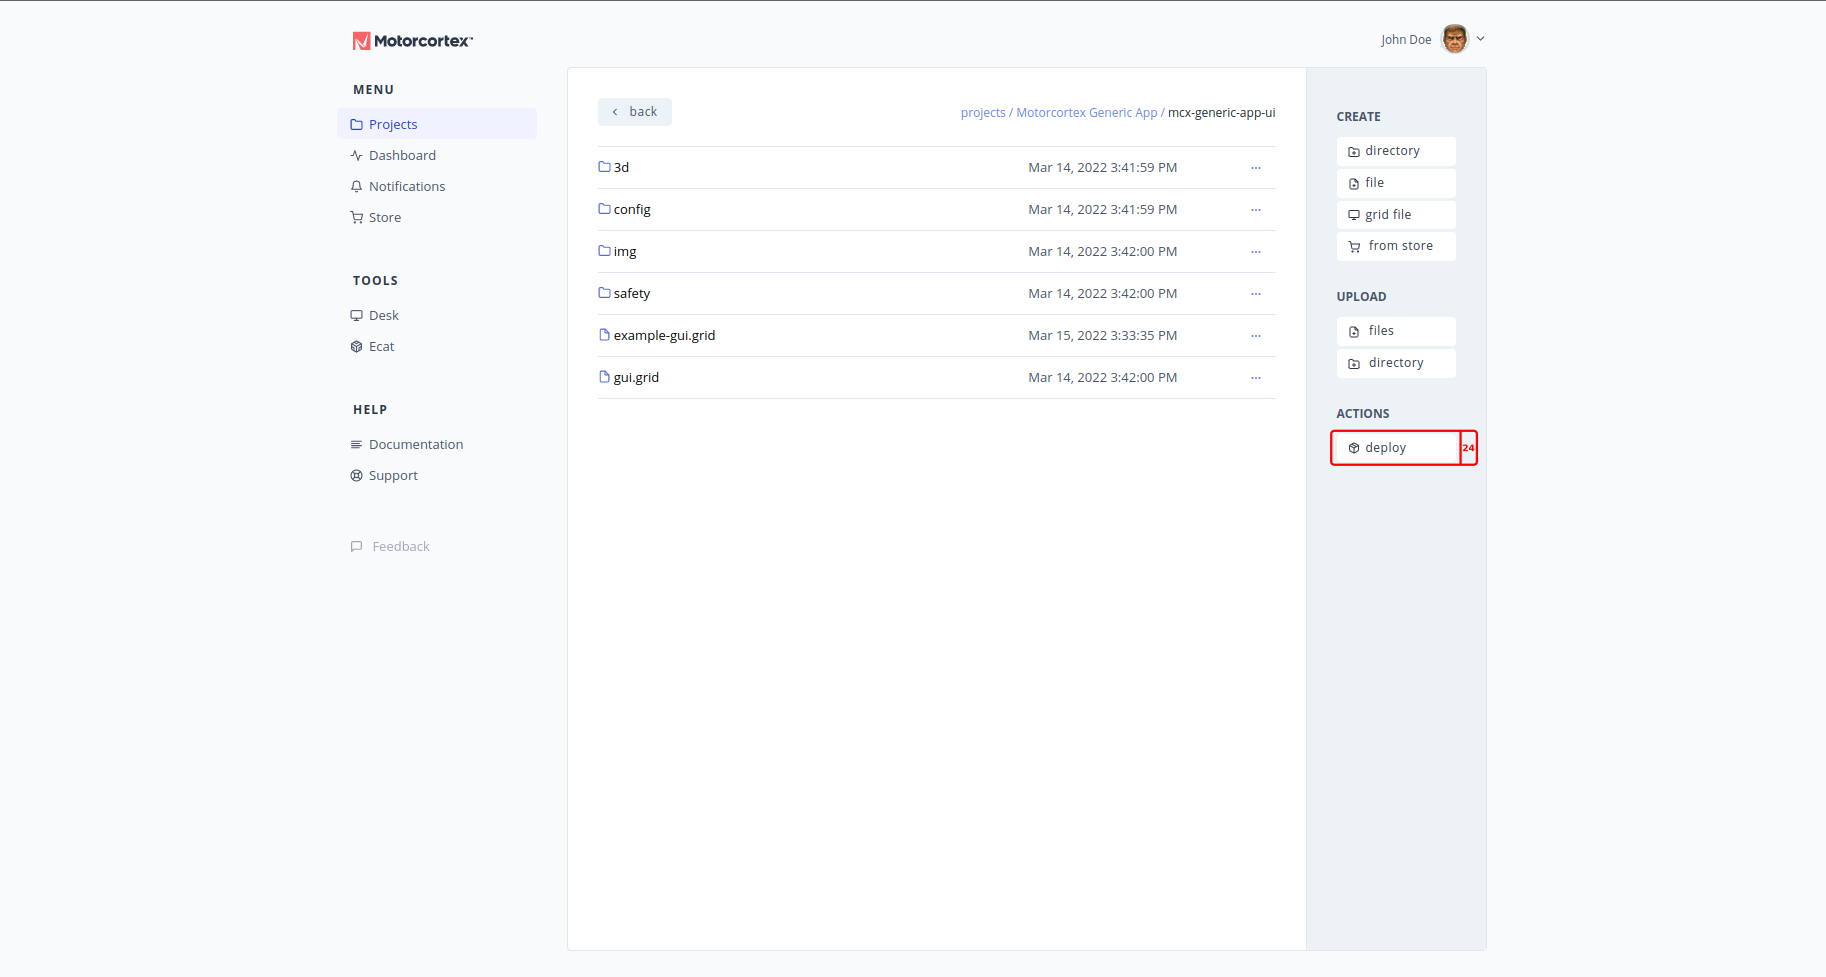
-
fill in your IP adress and deploy your GUI.
-
Congratulations you have now created a GUI for your application.
This was the last step of the Getting started. you now have all the basics you need to create a Motorcortex Application. The next step is to create automated programs. For realtime applications you need to take a look at Developing Control Applications
If your program does nog have to be realtime and you prefer other programming languages make sure to take a look at Developing Client Applications
More information about the Motorcortex grid tool can be found under Motorcortex Grid