User Interface
2 minute read
In this section you will learn how to switch the robot on and off, create and run robot programs and handle error messages.
Prerequisites
We assume that you already:
- configured your robot
- deployed the motorcortex-robot-app to the robot controller
- deployed your robot configuration to the robot controller
- deployed the motorcortex-robot GRID User Interface Package to the controller
- installed a browser certificate on the PC/Laptop/Tablet that you will use to interface with the robot
Open the User Interface in your browser
Point your browser to your robot controller by typing the ip address of the robot into your browser. (e.g. https://192.168.2.100/list)
Motorcortex Robot Application Basics
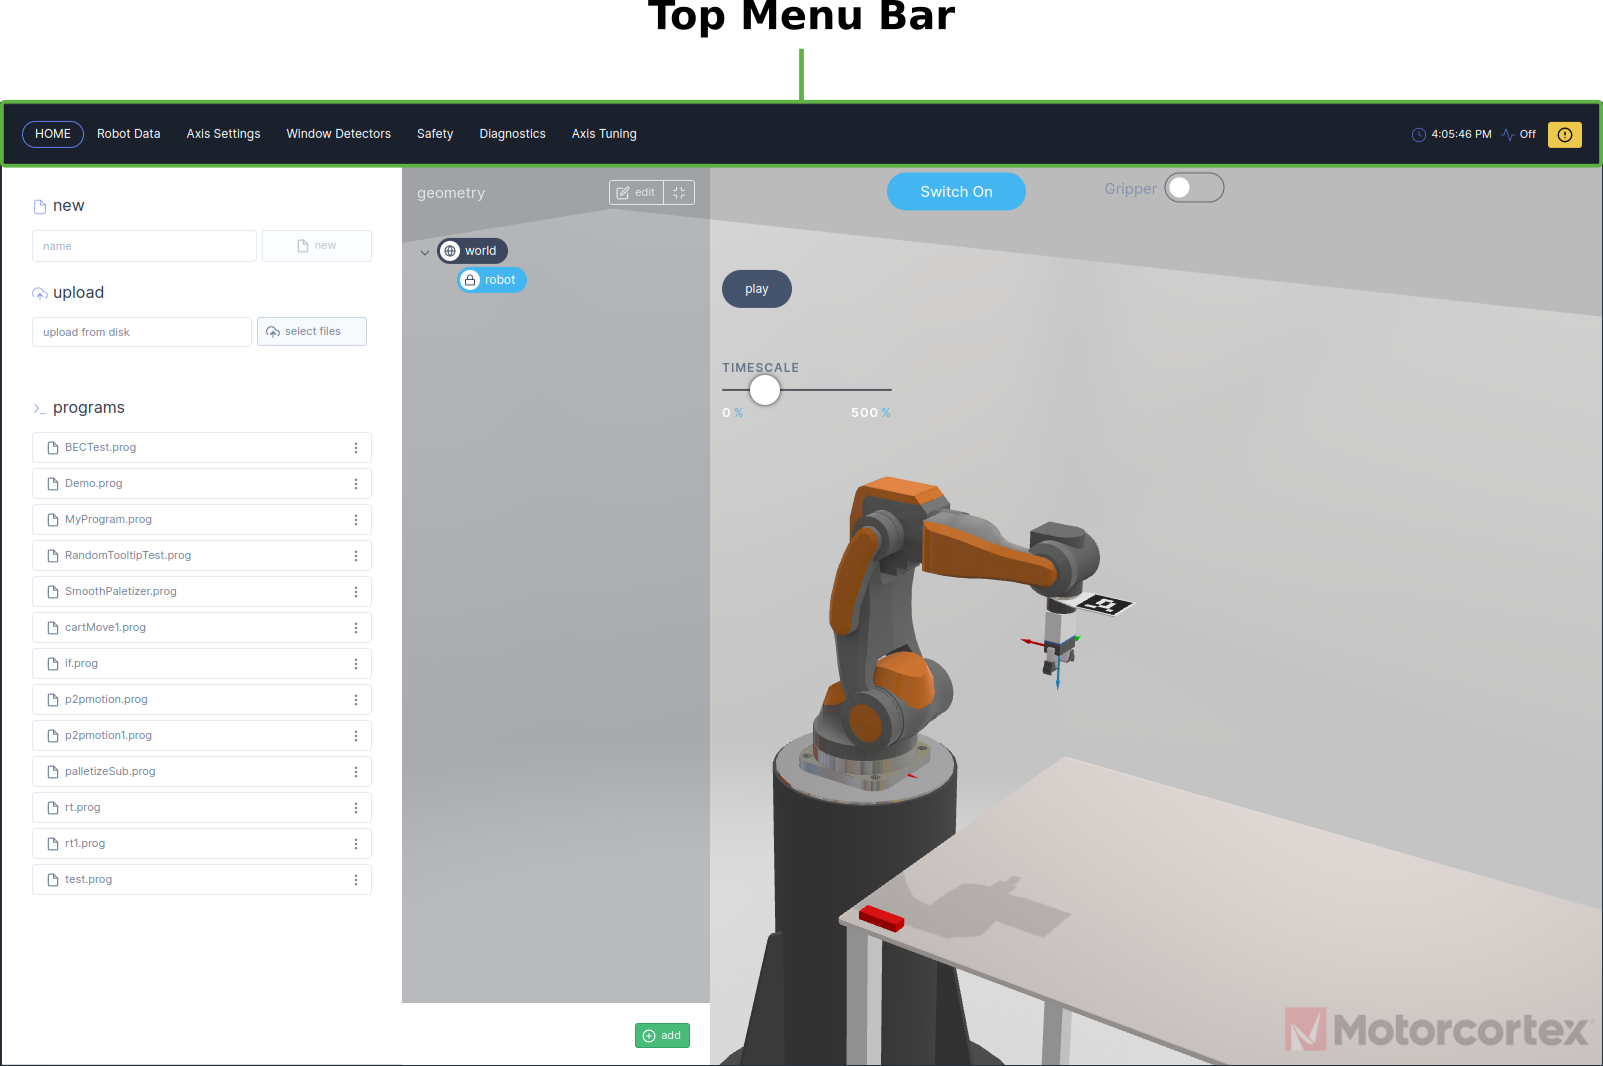
The top menu bar gives a overview of the available application options divided over tab pages. The basic functions and how to use it are explained in this chapter.
-
The HOME tab is the main user interface, in here you can control your robot
manualviacartorjointmode, or automatically by means of aprogram. -
In the Robot Data tab you can keep track of the actual joint position of each axis.
-
In the Axis Settings tab you can adjust you axis settings, e.g.
enable axis,set encoder,homing, and applygainsto transform torque/encoder ticks to the preferred unit in deg, rad, Nm, Nmm ect. -
In the Alarms tab you can define a
warningand/or ane-stopfor system variables. -
In the Safety tab you can find the applied
safety projectwithsafety hardwareand read-out applicableSDOs. -
In the Diagnostics tab you can troubleshoot your robot application, e.g. check
system hardware,system logs,drive diagnosticsanddrive service data objects (SDO). -
In the Axis tuning tab you can PID tune the
positionandvelocity loopof each axis.