Install on a Raspberry Pi
3 minute read
A Raspberry Pi runs MCX-RTOS from its microSD card. You write the image to the card on your PC with Raspberry Pi Imager, let the image use the whole card, and put the card in the Pi. For a Raspberry Pi Compute Module, which has built-in storage instead of a card, see Install on a Compute Module.
Before you start
- The Raspberry Pi image, downloaded from the store: see Download.
- A microSD card and a card reader for your PC.
Write the image to the card
Warning
Writing the image erases everything on the SD card.
-
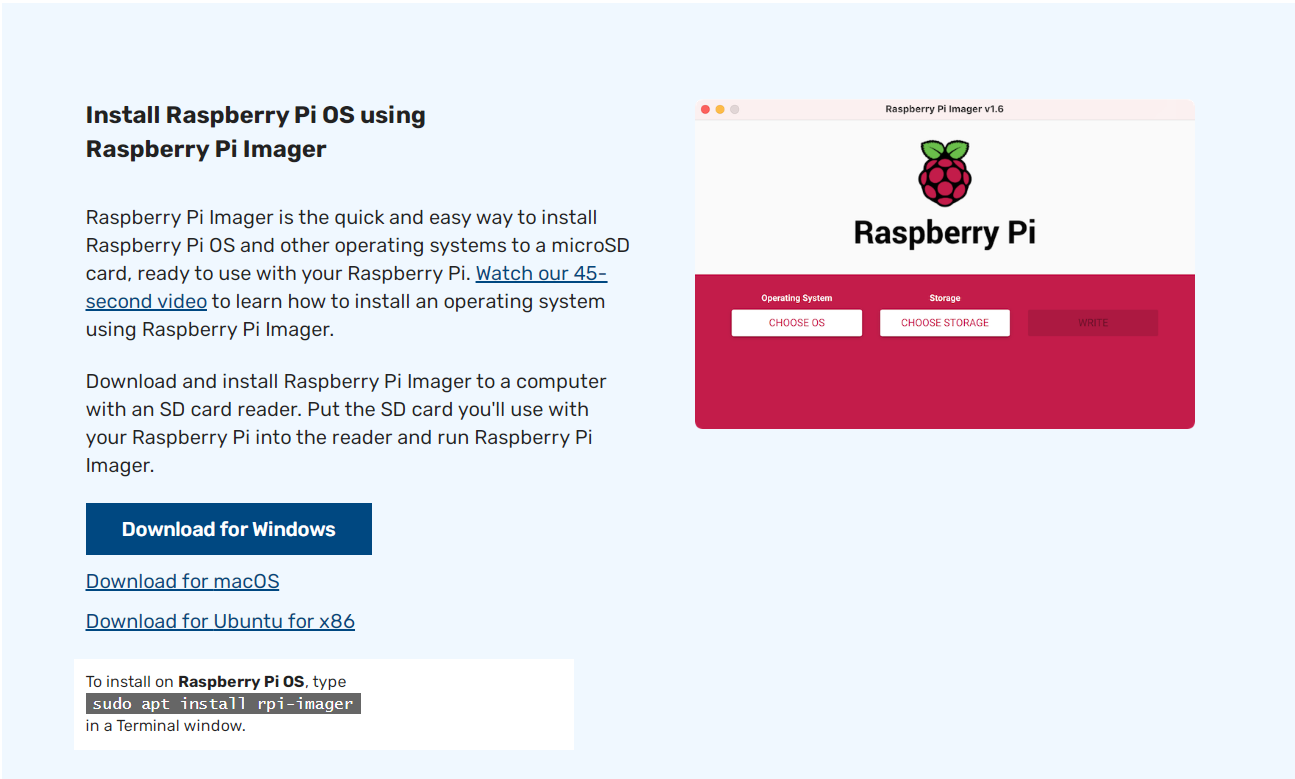
Download Raspberry Pi Imager for your operating system from raspberrypi.com/software and install it.
-
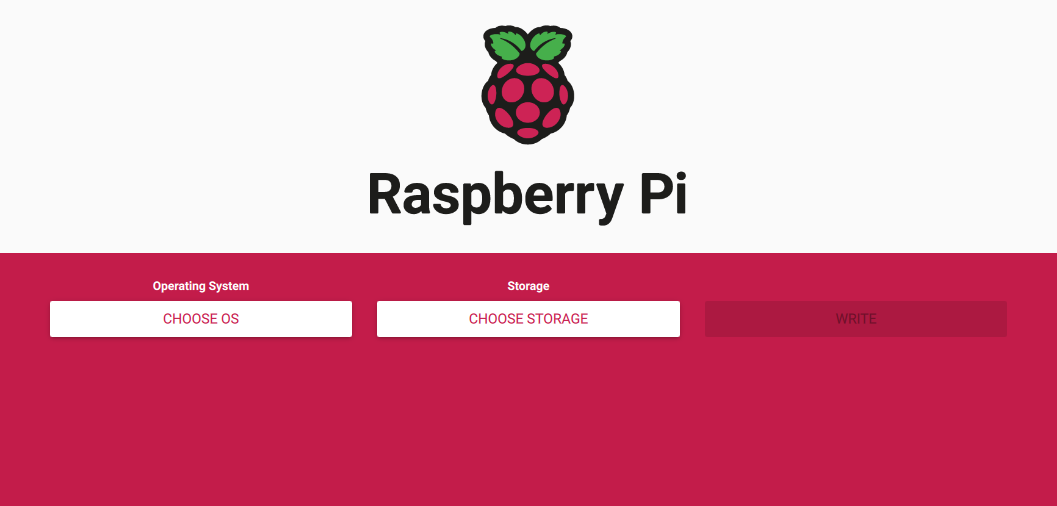
Insert the SD card into your PC and open Raspberry Pi Imager. The labels below are those of the version in the screenshots; newer versions word them differently.
-
Press
CHOOSE OS, scroll down and chooseUse custom. Select the Raspberry Pi image you downloaded.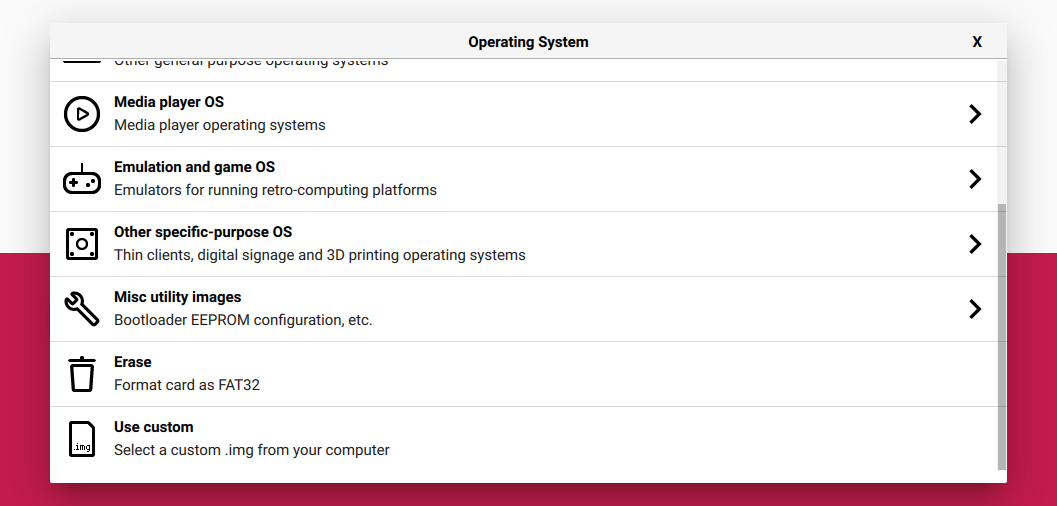
-
Press
CHOOSE STORAGEand select the SD card.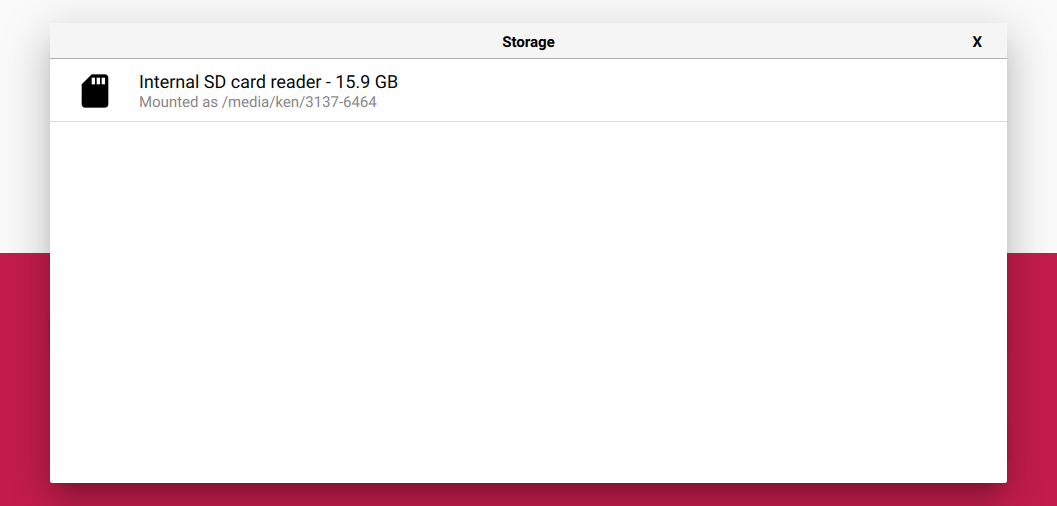
-
Press
WRITE. Raspberry Pi Imager warns that all data on the card will be erased; pressYESto go on.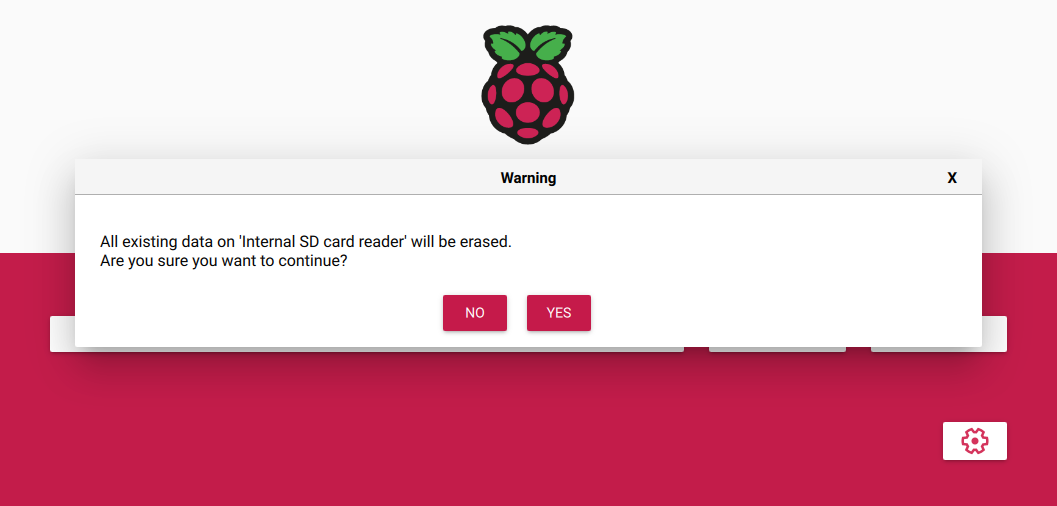
-
Wait until writing and verifying are done.
Use the whole card
The image only fills part of the card. Grow its second partition to the end of the card, so MCX-RTOS can use all of it. This uses GPartedGParted is a free partition editor for Linux. It resizes, moves and creates partitions on a disk. on a Linux PC.
-
Install GParted, for example with
sudo apt install gpartedon Ubuntu, and open it. -
At the top right, select the SD card. Select its second partition and press (
Resize/Move).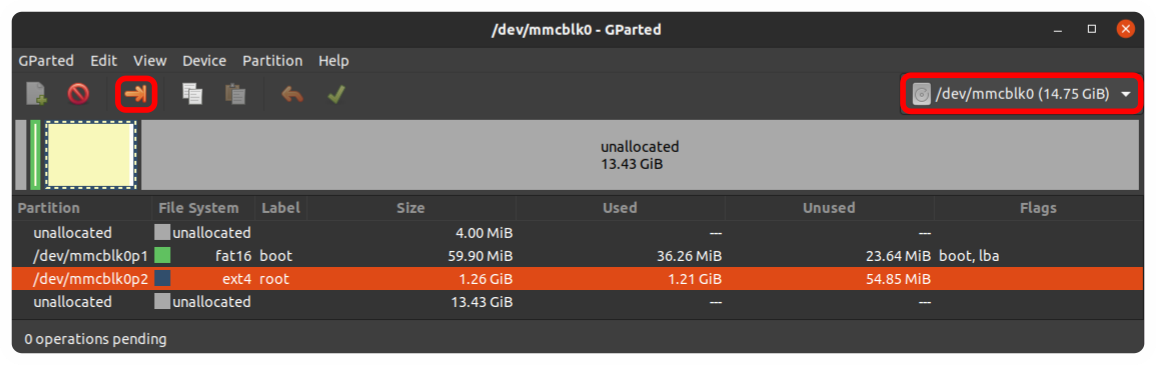
-
Set
New size (MiB)to the maximum and pressResize/Move.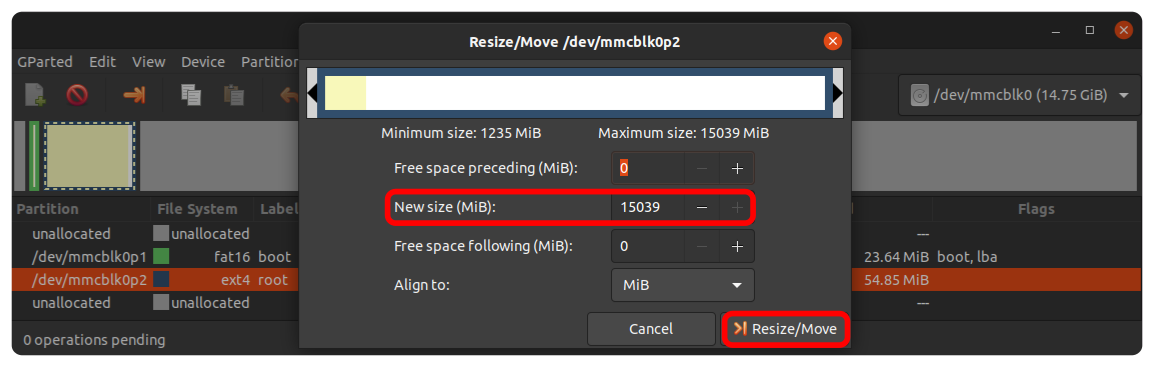
-
Press (
Apply All Operations) to apply the change to the card.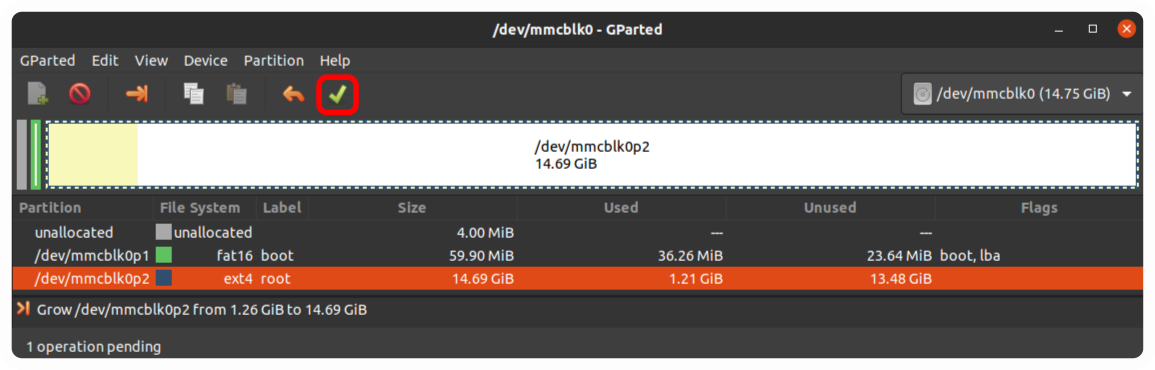
-
Eject the SD card, put it in the Raspberry Pi and switch the Pi on.
Connect to the Raspberry Pi
A standard Raspberry Pi has one network port, and MCX-RTOS uses it for the EtherCAT network. You reach the controller over Wi-Fi, or through a second wired network adapter such as a USB-to-Ethernet adapter.
Without a second adapter, the Raspberry Pi opens its own Wi-Fi network. This needs a Raspberry Pi model with Wi-Fi.
- On your PC, connect to the Wi-Fi network of the controller, for example
mcx-fa3c06, with the passwordvectioneer. - The controller’s address on that network is
192.168.0.1. Use it wherever these pages saycontroller_ip_addressThe IP address of your controller. In most cases 192.168.2.100..
To join the controller to an existing Wi-Fi network instead, or to change its access point, see Network configuration.
Note
On a wired connection to a Raspberry Pi, ARP sometimes has to be switched on first: sudo ifconfig eth0 arp.
Next: Step 2: connect your PC.