I/O devices
2 minute read
An I/O module brings signals such as buttons and sensors into the application, and drives lamps, relays and valves. Each channel is an entry in the module’s process data: inputs arrive in its txPDO, outputs leave in its rxPDO. You link every channel you use to a Motorcortex parameter.
The status lights and the emergency stop are signals the application already has. For a channel of your own, such as a start button or a lamp, create a user parameter first.
Add the module
-
Put the configuration in production mode and deploy it to the controller, so the ECAT tool can see the real bus.
-
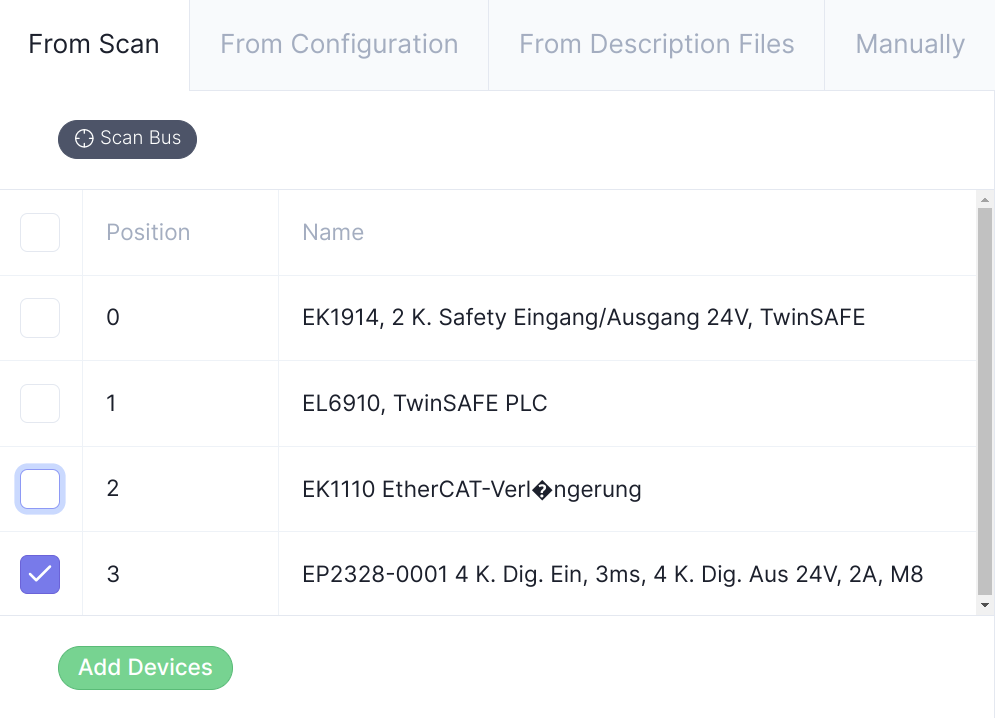
In the ECAT tool, open Add Devices, go to the From Scan tab and press Scan Bus.
-
Select the module and press Add Devices.
-
Load its ESI file with next to the device name, as for CiA402 drives. The module’s channels then show up in its rxPDO and txPDO.
Create a parameter for your own channels
Add the parameters to user/parameters.json in the configuration package; they appear under root/UserParameters/. The standard configuration already has an IO branch for this:
{
  "Name": "IO",
  "Children": [
    { "Name": "startButton", "Type": "bool,input" },
    { "Name": "lamp", "Type": "bool,parameter_volatile", "Value": 0 }
  ]
}
The parameter type depends on the direction:
| Channel | Direction | Parameter type |
|---|---|---|
| Input, in the txPDO | device to application | input |
| Output, in the rxPDO | application to device | parameter_volatile, so you can switch it from Desk or a dashboard |
See user/parameters.json for all types and options.
Link the channels
In the ECAT tool, open the module’s rxPDO or txPDO tab, find the channel’s entry and add a link to its parameter, for example root/UserParameters/IO/startButton. For an array parameter, such as status_light, the channel number picks the element; a single value uses channel 0.
A module that is not there in simulation needs its inputs set some other way: put it in a simulated domain, or give the inputs a value with SetParameters. See Simulating devices and link files.
Check it
Deploy the configuration and open Desk. Press the button and watch its input parameter change; write 1 to an output parameter and the lamp lights up.
Next: Step 2: set the drive mode.